Atari 600xl resuscitation
Several weeks ago I’ve spotted Atari 600xl on auction, which was in really good shape. At last from the outside. I really like this model very much, it’s similar to 800xl, but it is much more compact and simultanously less capable (only 16kib of memory). But it doesn’t matter if you know what to do with it.
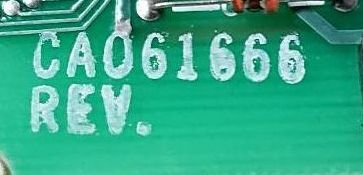
Unfortunately it was sold as is – broken, no returns, black screen on tv, no power supply – but seller said that power led is working. It of course might be interpreted as – I’ve connected Atari to C64 psu, I’ve fried all the chips inside and I don’t have time to fix it, get it and fuck off ;-). Anyway, I’ve decided to take a risk, give it a try and make an attempt to revive it. If it would work, then I could fully upgrade it. After opening it and seeing the sign on the motherboard I knew it was my destiny (it’s magic of numbers, really):
So, how bad it is?

After reviewing the mainboard I didn’t notice any obvious damage, everything was clean, most of the chips were socketed, so I reseated them. This unit didn’t have any metal screens, which was little weird. After powering on turned out that screen isn’t completely black, it was red / brown red, so I’ve made some investigations on the web (Youtube materials, official Atari service field manuals and asked some guys on atari.pl forum). Red screen indicates problem with RAM or MMU, black screen in most cases indicates dead 6502c (Sally) cpu, which I replaced in the beginning, but later it turned out to be ok. I’ve checked voltage on main chips, but everything looked fine. So, I’ve replaced RAM with Lotharek 64kib upgrade and swapped MMU with one from working 65xe, but it didn’t help at all – there was still red screen.
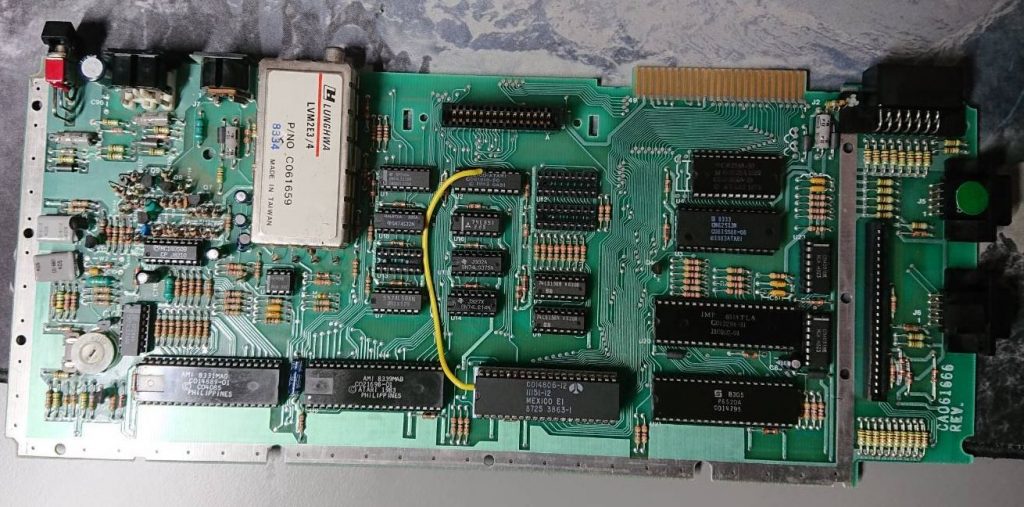
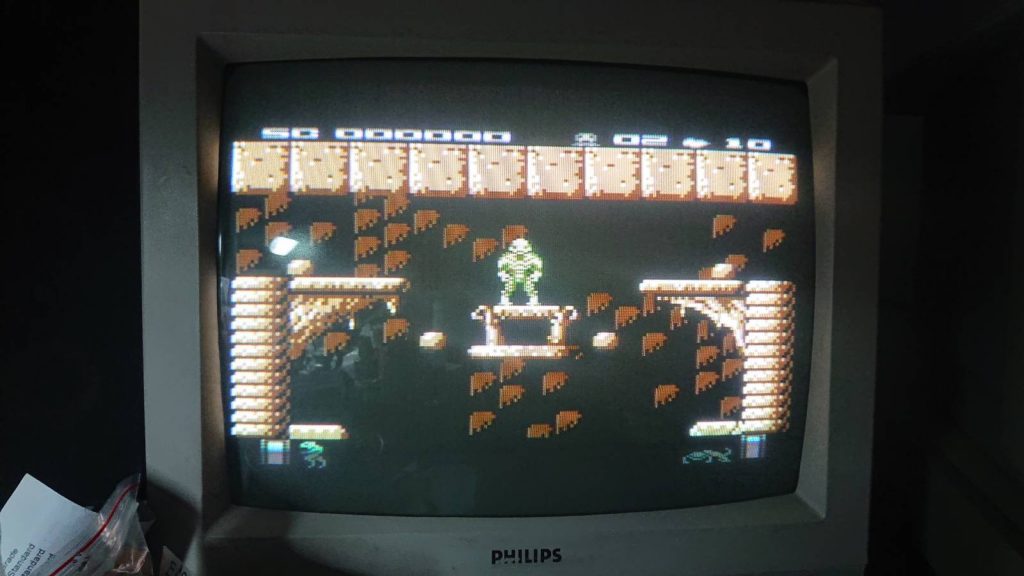
Someone on atari.pl forum suggested me that red screen might be also a symptom of bad OS / Basic ROMs, so I’ve removed basic rom (system should start without it) and replaced OS rom with working one from Atari 65xe. And after that computer was alive:
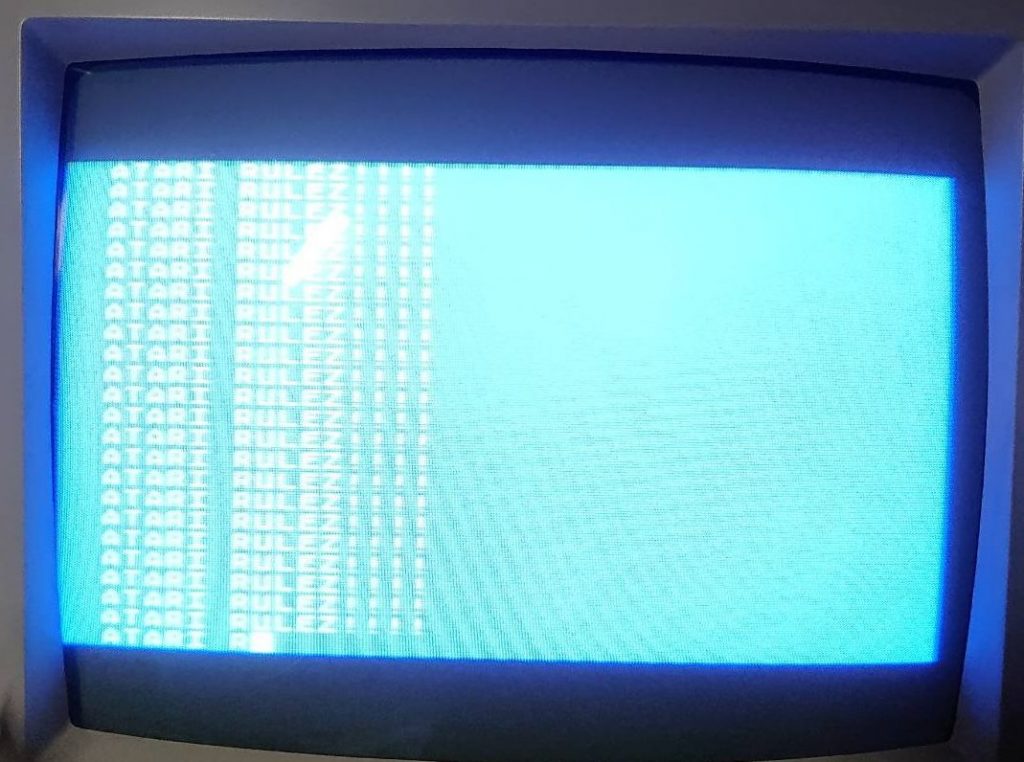
But self test indicated red square in ROM (quite understandable):

This looked very promising. So, next I’ve begun to check all other chips, I’ve removed custom chips one by one to see if any change causes problems. I’ve made one mistake though, by testing those chips firstly on 600xl motherboard. It’s actually better to check chips on board, which we know is 100% working. So, I retested every chip on Atari 65xe board. After that It was clear that Basic ROM and System ROM are completely dead and I’ve noticed something strange with GTIA chip:
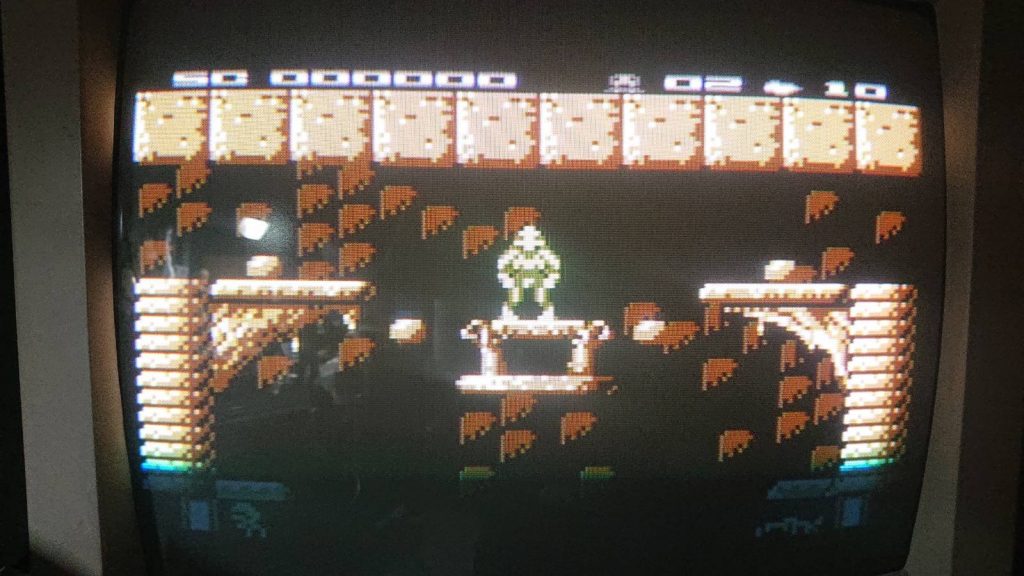
Everything looked fine after GTIA exchange of course. And some demos produced garbage on screen.
Motherboard refresh
After I was sure most of the things were working, keyboard was dismantled, dusted off and all keycaps with case were treated with warm, soapy water.
I’ve made some recommended changes to video circuitry to add svideo – cut one trace and soldered two wires, one with 75ohm resistor, removed c109 capcitor and removed RF modulator completely (see FlashJazzcat videos for reference).
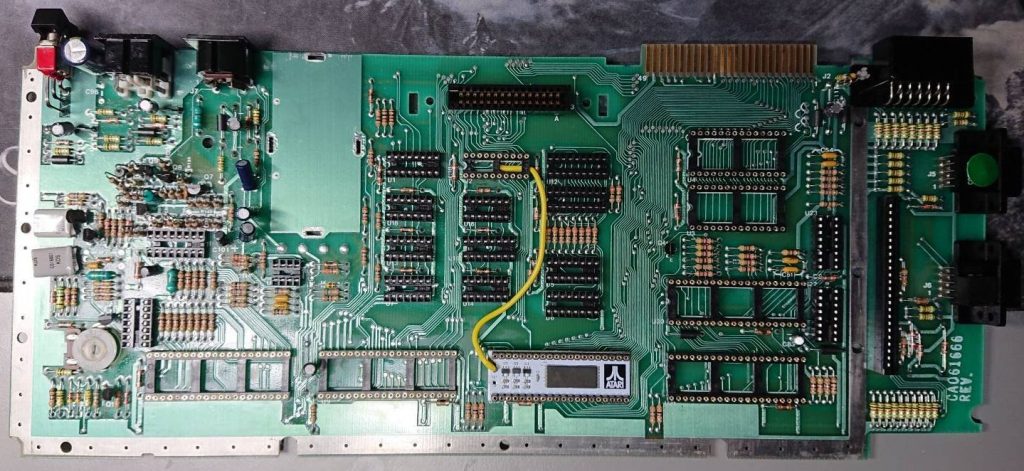
I’ve removed all old sockets and replaced them with precise ones.
All electrolitic capacitors were replaced with new ones. I’ve also cleaned whole mother board and connectors with Contact-S, Contact-U and isopropyl alcohol.
I had to solder CI wire for SRAM module under precise socket, to avoid problems with connecting U1MB MMU cable later.
I’ve checked after each step if everything is still working fine.
Expansions
Ultimate 1MB
Atari 600xl case is little tight, I had to drill two holes on both sides on expansion port and shortened plastic screw holders, so U1MB battery nearly touches basic/system rom. I had to add some insulation between screw and board underneath to avoid short circuit. Connected all the signals from cpu to U1MB according to manual. Of course cables could be shortened, so everything could be much neater, but I didn’t want to mess with them. I only clipped U1MB connector holders, because they collide with keyboard. After connecting U1MB all problems with display in some demos were gone :).
Sophia 2
Sophia2 replaced old, badly working GTIA and additionally gives DVI output. It’s rather not designed to use with normal cpu sockets, only precise ones – but I’ve already replaced all sockets earlier.
I cut out place for dvi connector with Dremel multitool and tidied up everything with needle files. It didn’t turn out as good as I wanted, but it ended “good enough”. I’ve secured DVI connector with hot glue.

PokeyMAX
PokeyMAX was seated in precise socket. I had to drill two holes for chinch connectors on the left side of a case (bottom part). Connected GND, L, R signals to appropriate PokeyMAX pins. L, R had additional 10uF capcitors added, according to manual. Three signals had to be connected to Sally CPU (13,14,16 pins) – I have quad version.
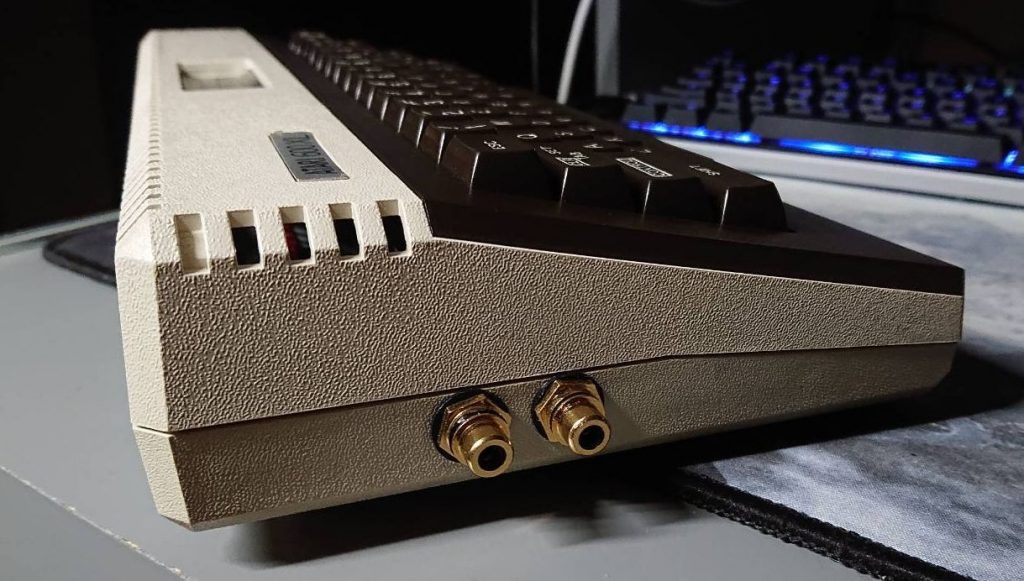
Done
So, after those steps I have fully working, upgraded Atari 600xl, which works and looks really great. I’m really proud of end result.
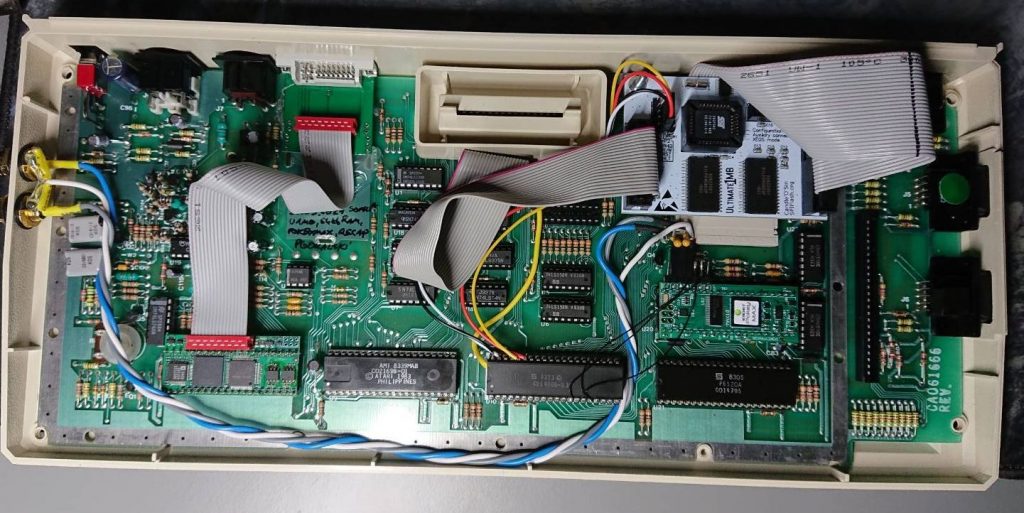
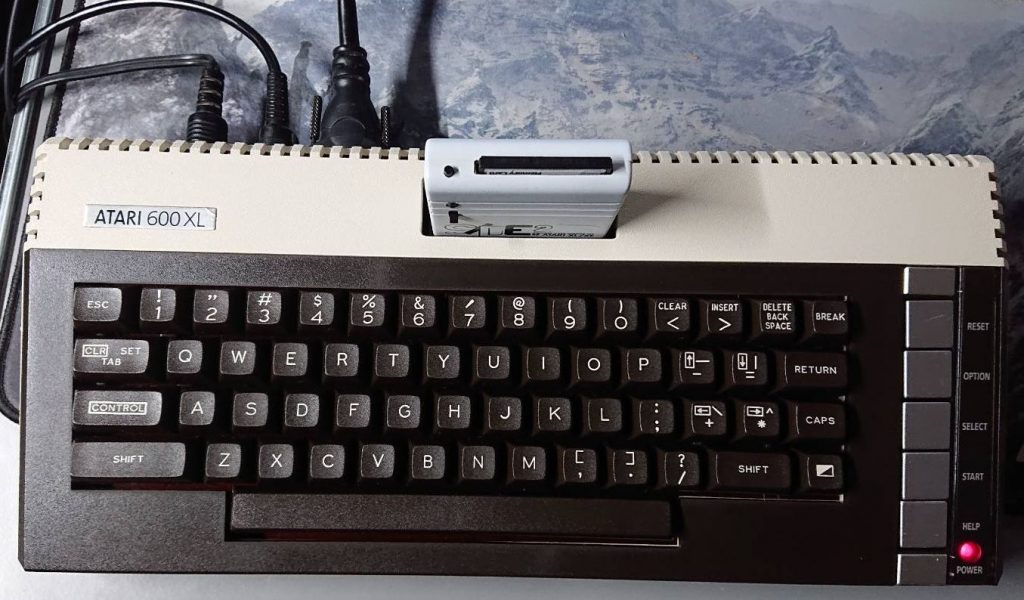
Final words
In the end I would like to send greetings and thanks to FlashJazzcat for his great 8-bit Atari modding/repair videos and software, guys from atari.pl forum for troubleshooting help, Simius for Sophia2, Lotharek for 64kib SRAM, U1MB hardware, Duddie/Retronics for PokeyMAX.
O wpisie
Aktualnie czytasz “Atari 600xl resuscitation,” wpis w [nokturnal].
- Opublikowano:
- 28 March 2021 19:32 PM
- Kategoria:
- Atari 8-bit, hardware, Modyfikacje sprzętu, Wieści


Komentarze są zamknięte
Aktualnie komentarze nie są aktywne dla tego wpisu.