

Commodore 64C renewal and future proofing.
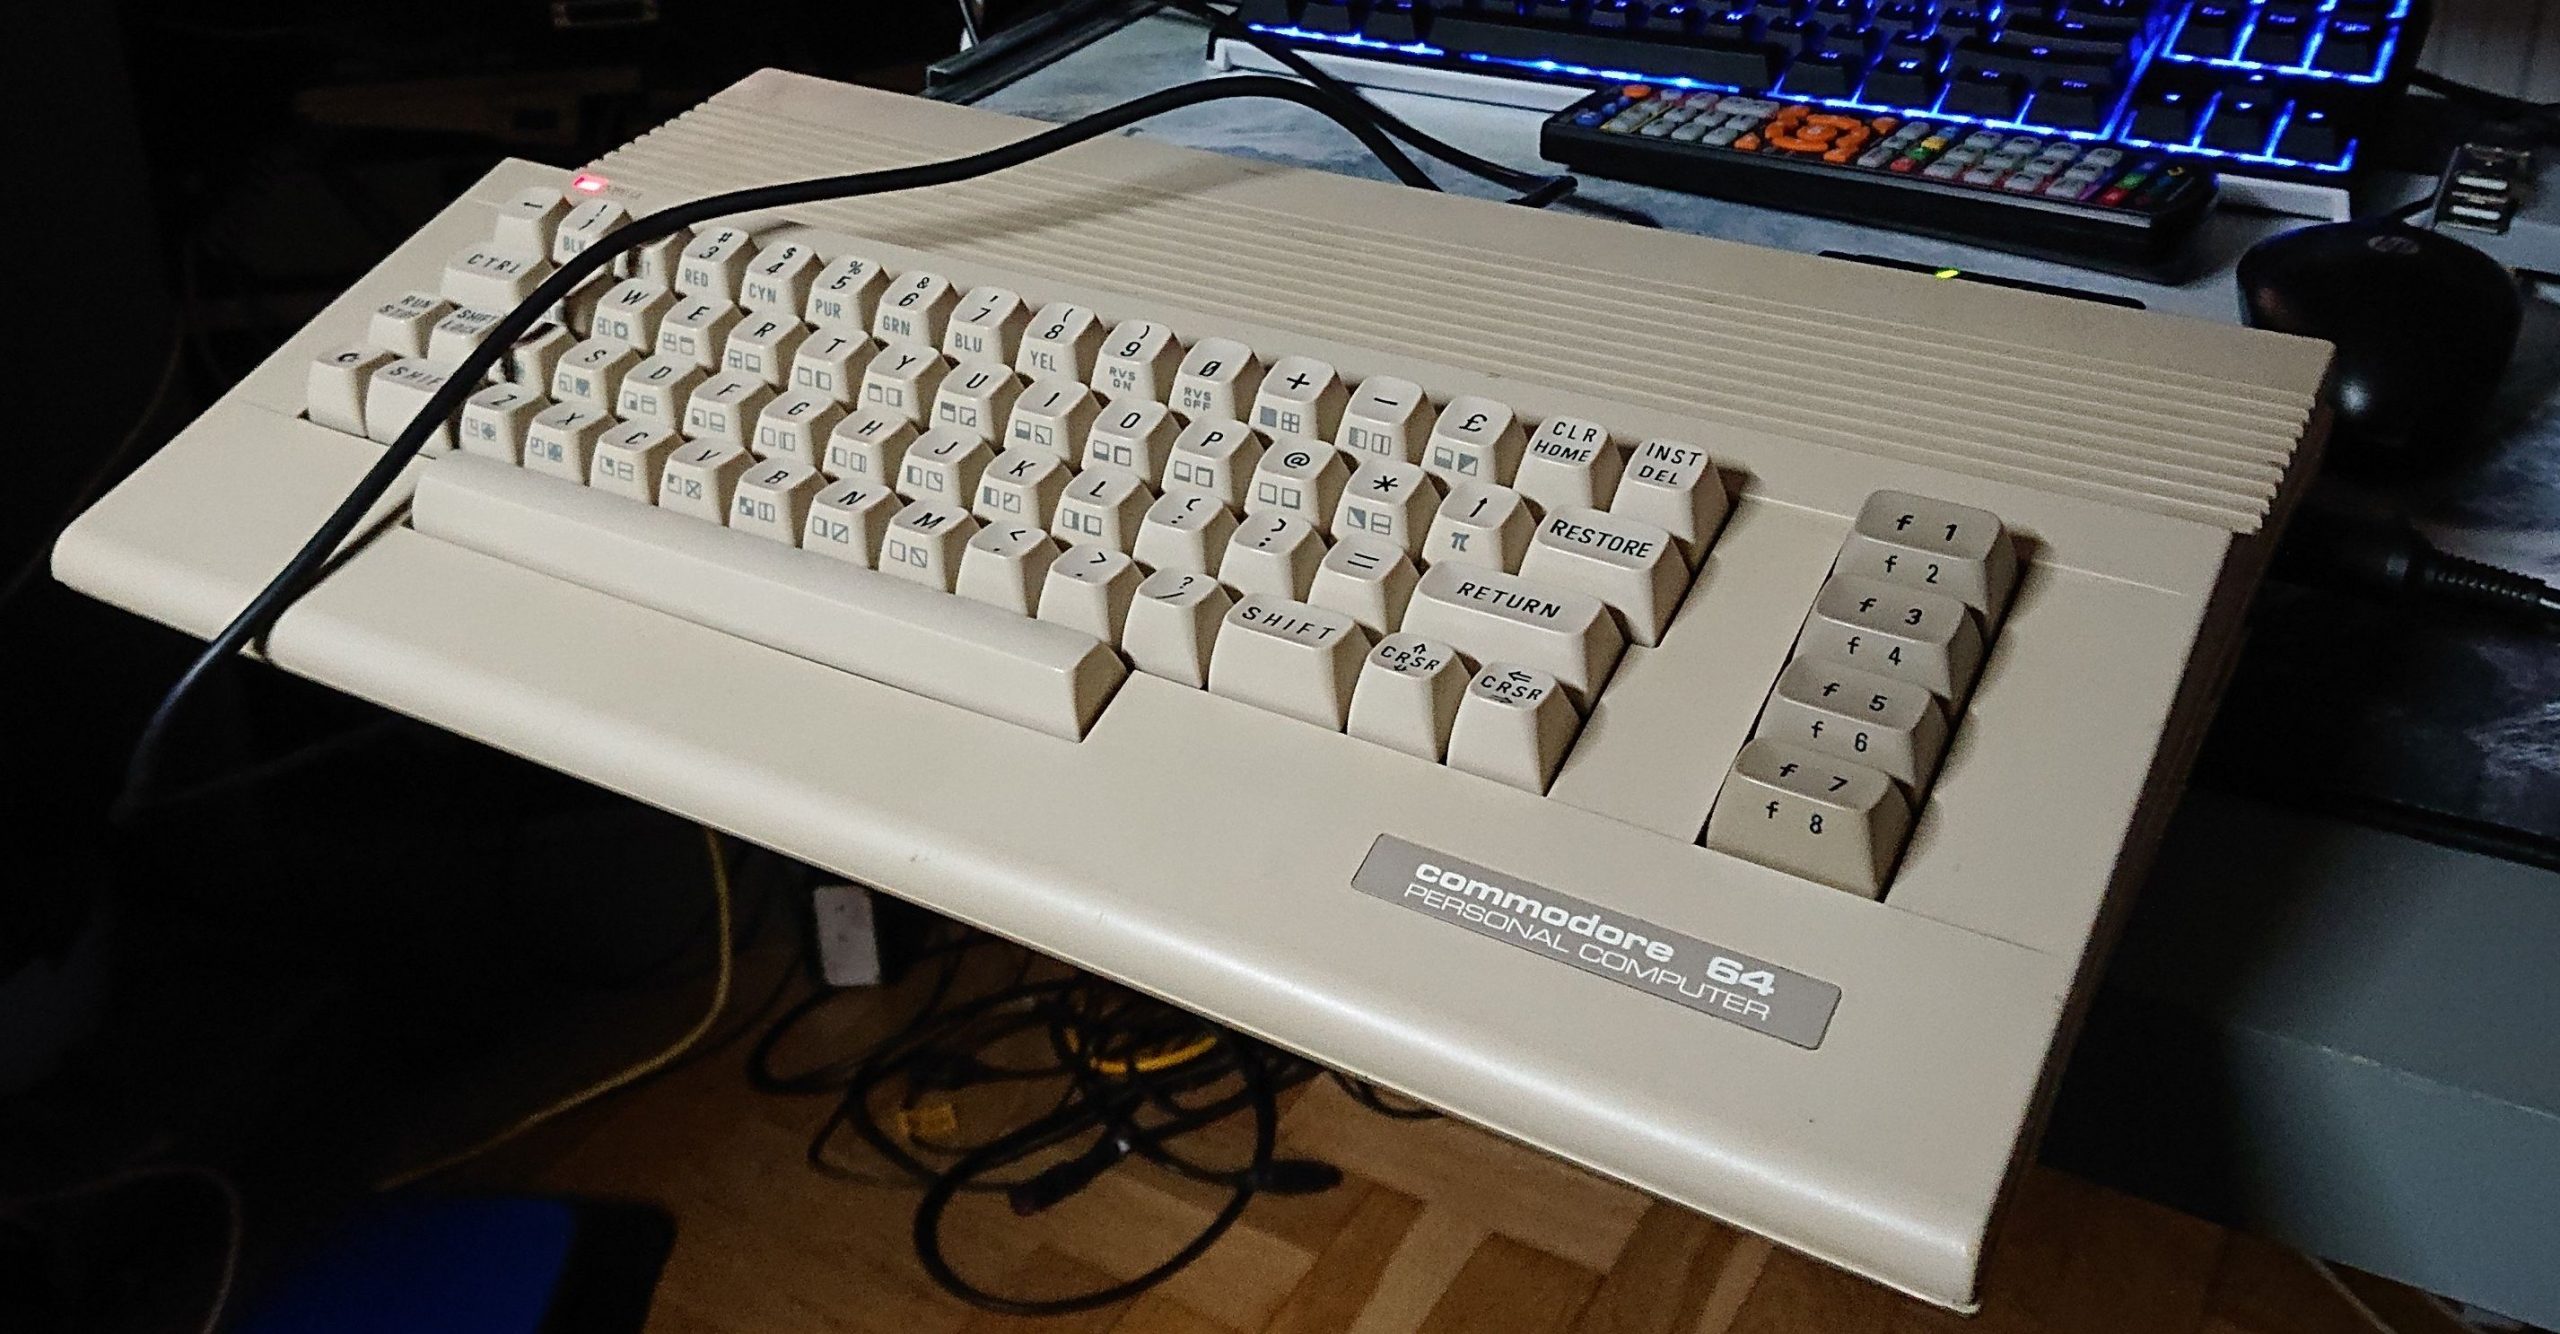
I’ve received this machine (C64C) years ago from my neighbour with tape recorder / player. It wasn’t in really bad shape. Few scratches on case here and there, no yellowing, it worked fine.
I’ve made some minor cleaning of keyboard / case several years before, added some upgrades like new, dedicated psu – old ones can fry instantly all the chips on mainboard if damaged, which is normal case after all these years, added Lumafix64 mod to clean up video output. For storage I’ve used SD2IEC briefly, but in the end I’ve switched to 1541 Ultimate-II. Tape recorders aren’t state of the art for loading programs these days.
Recently I’ve decided to make much better job – replace all old capacitors (this computer was made in 80s), replace bridge rectifier and old fuse, add overvoltage protection and heatsinks for three hottest chips, which aren’t easily replacable, because they aren’t produced. I didn’t replace capacitors in TV modulator, which could result in much better video output – I didn’t have proper capacitors. Maybe, someday I will remove/replace whole modulator or just replace modulator capacitors properly.
-
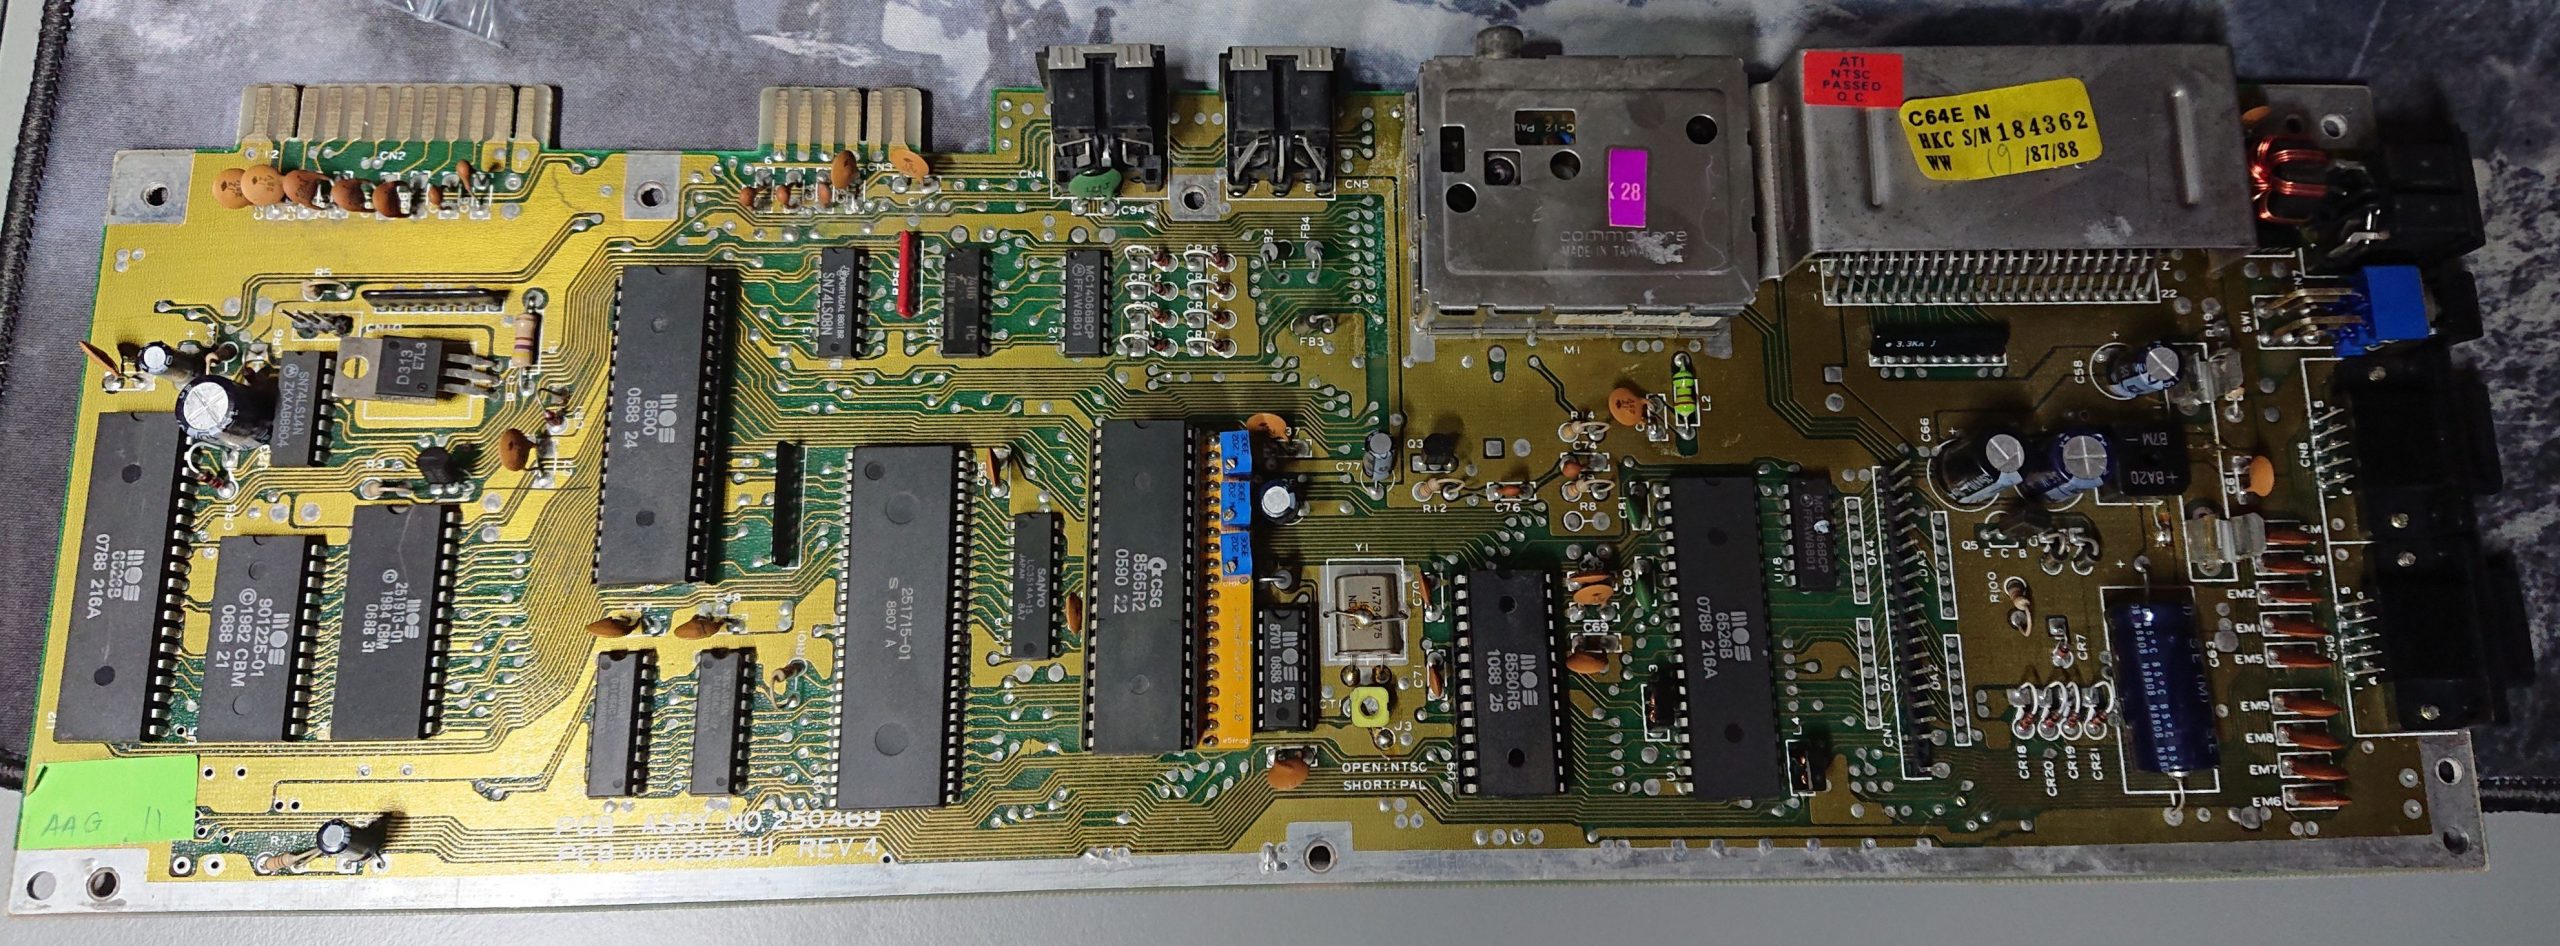
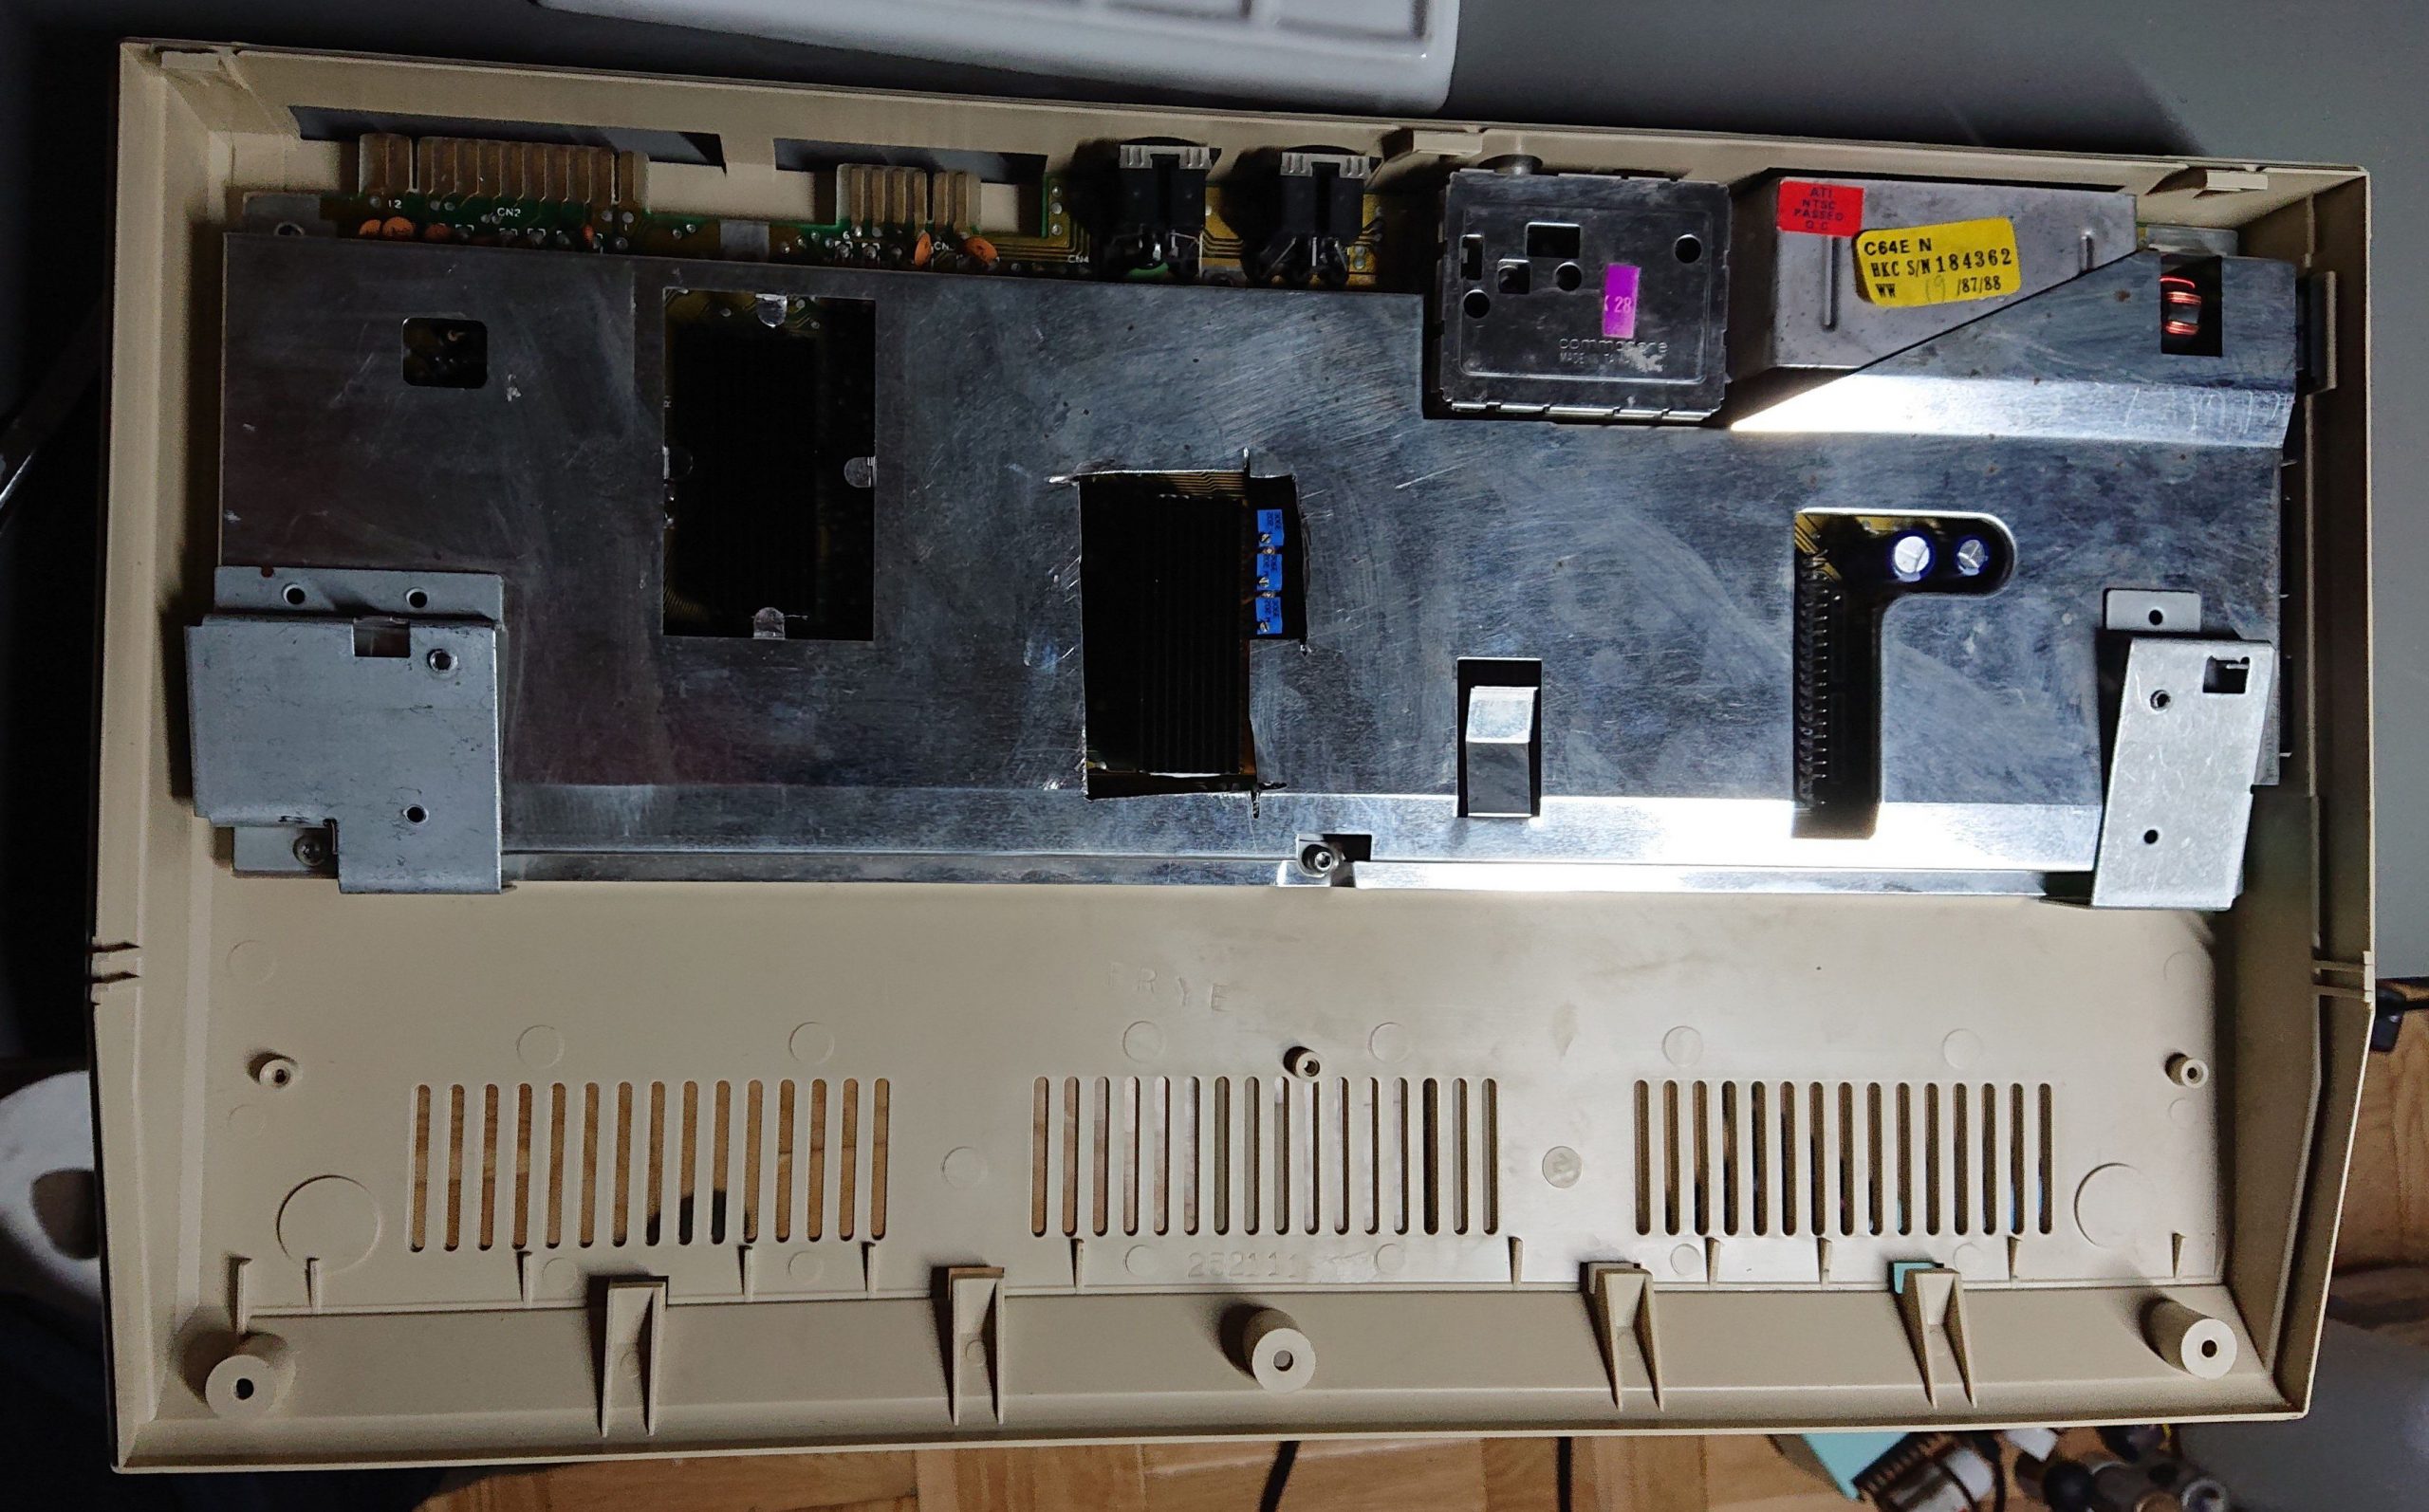
Mainboard after dismantling
-
Keyboard / case cleaning
Keyboard was dismantled, dust removed and cleaned in warm, soapy water. No big deal, just alot of steel springs.
-
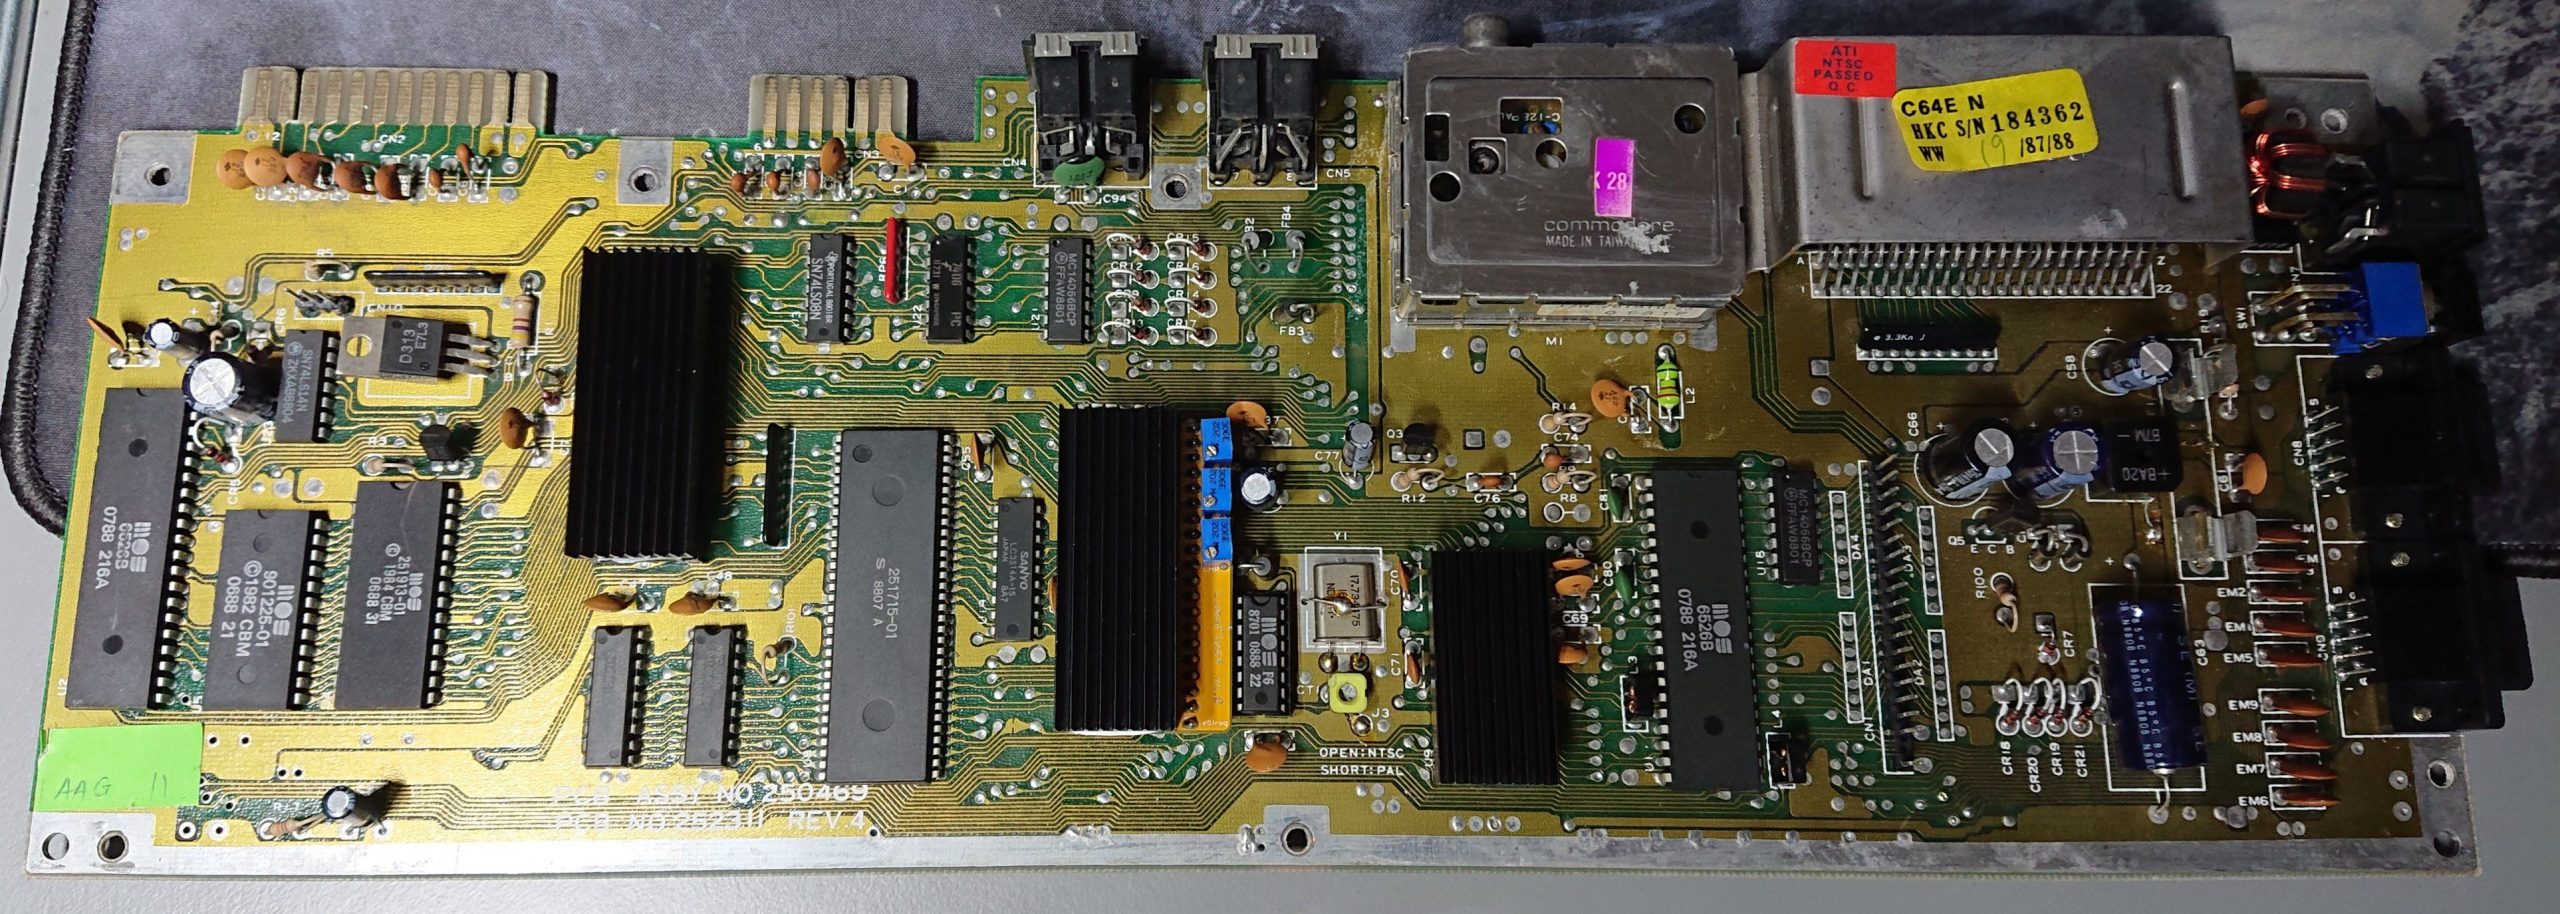
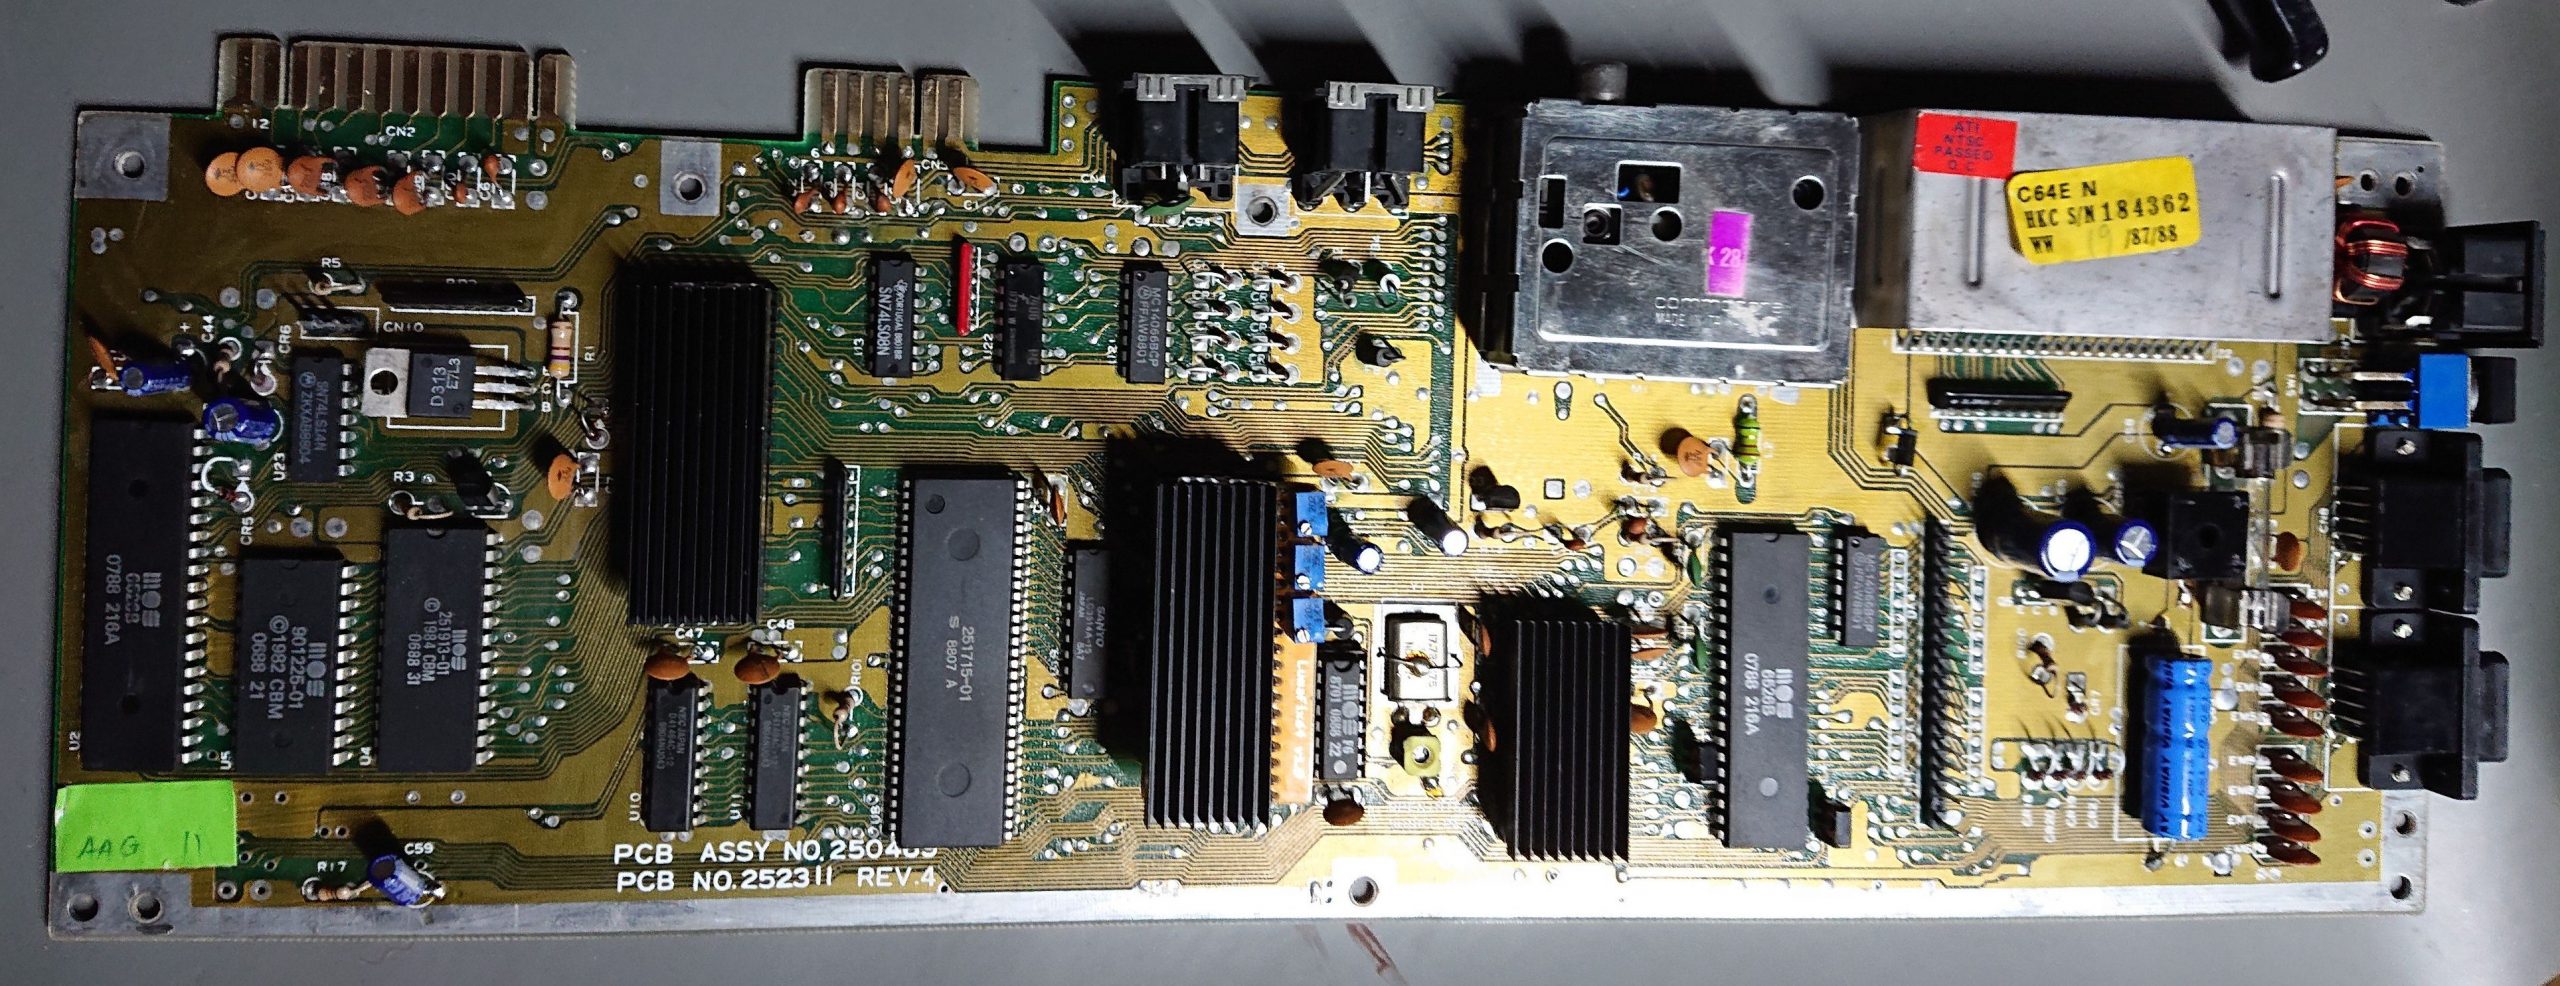
Heatsinks
Three chips were cleaned with isopropyl alcohol and thermal glue was applied:

After that heatsinks could be glued on:
-
Capacitor replacement and more
This was pretty straighforward process. Beside of capacitors I also replaced old fuse, bridge rectifier (KBPC610) and added P6KE diode as additional protection for overvoltage.
-
Shielding modification
When closing the case, motherboard screen collided with Lumafix64 and heatsinks, so I had to adjust it with Dremel multitool. One part of shielding was hopefully removable. Some people might decide to totally ditch top metal screen completely of course.
-
Quick test if keyboard fits
Spoiler, it fits ;-)

-
Done

-
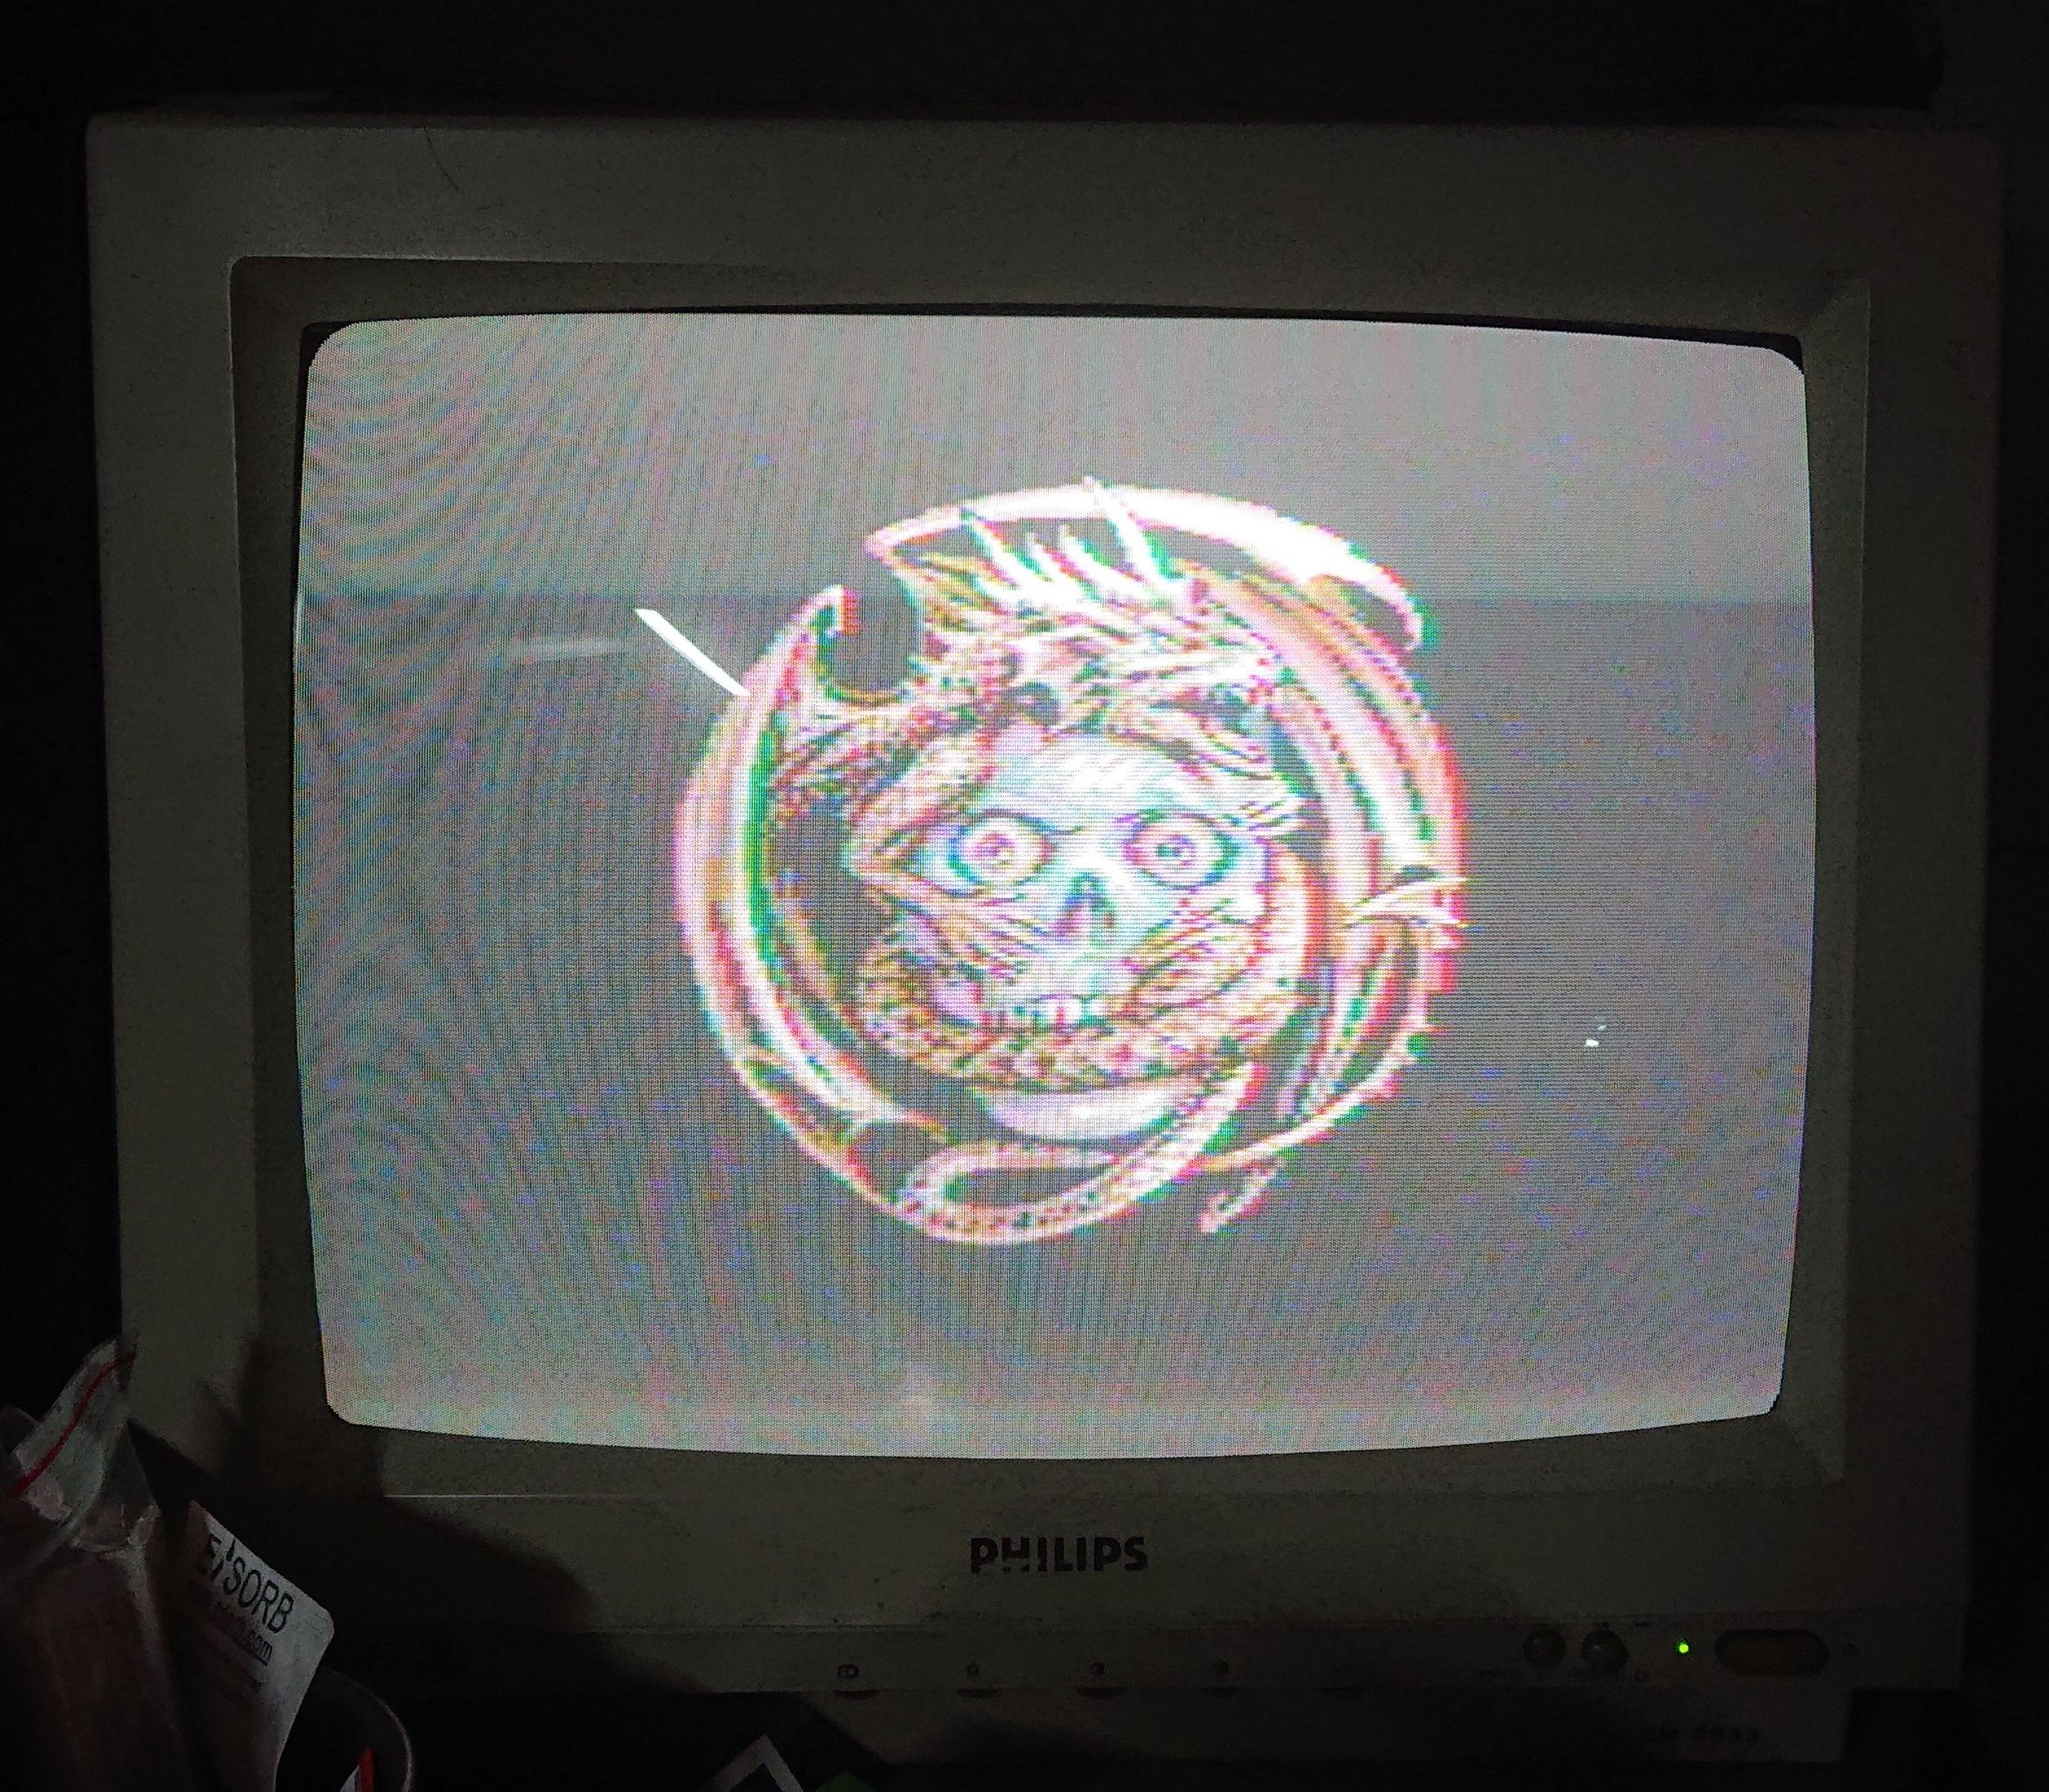
Some testing
C64C looks happy that it can operate for next thirty years:
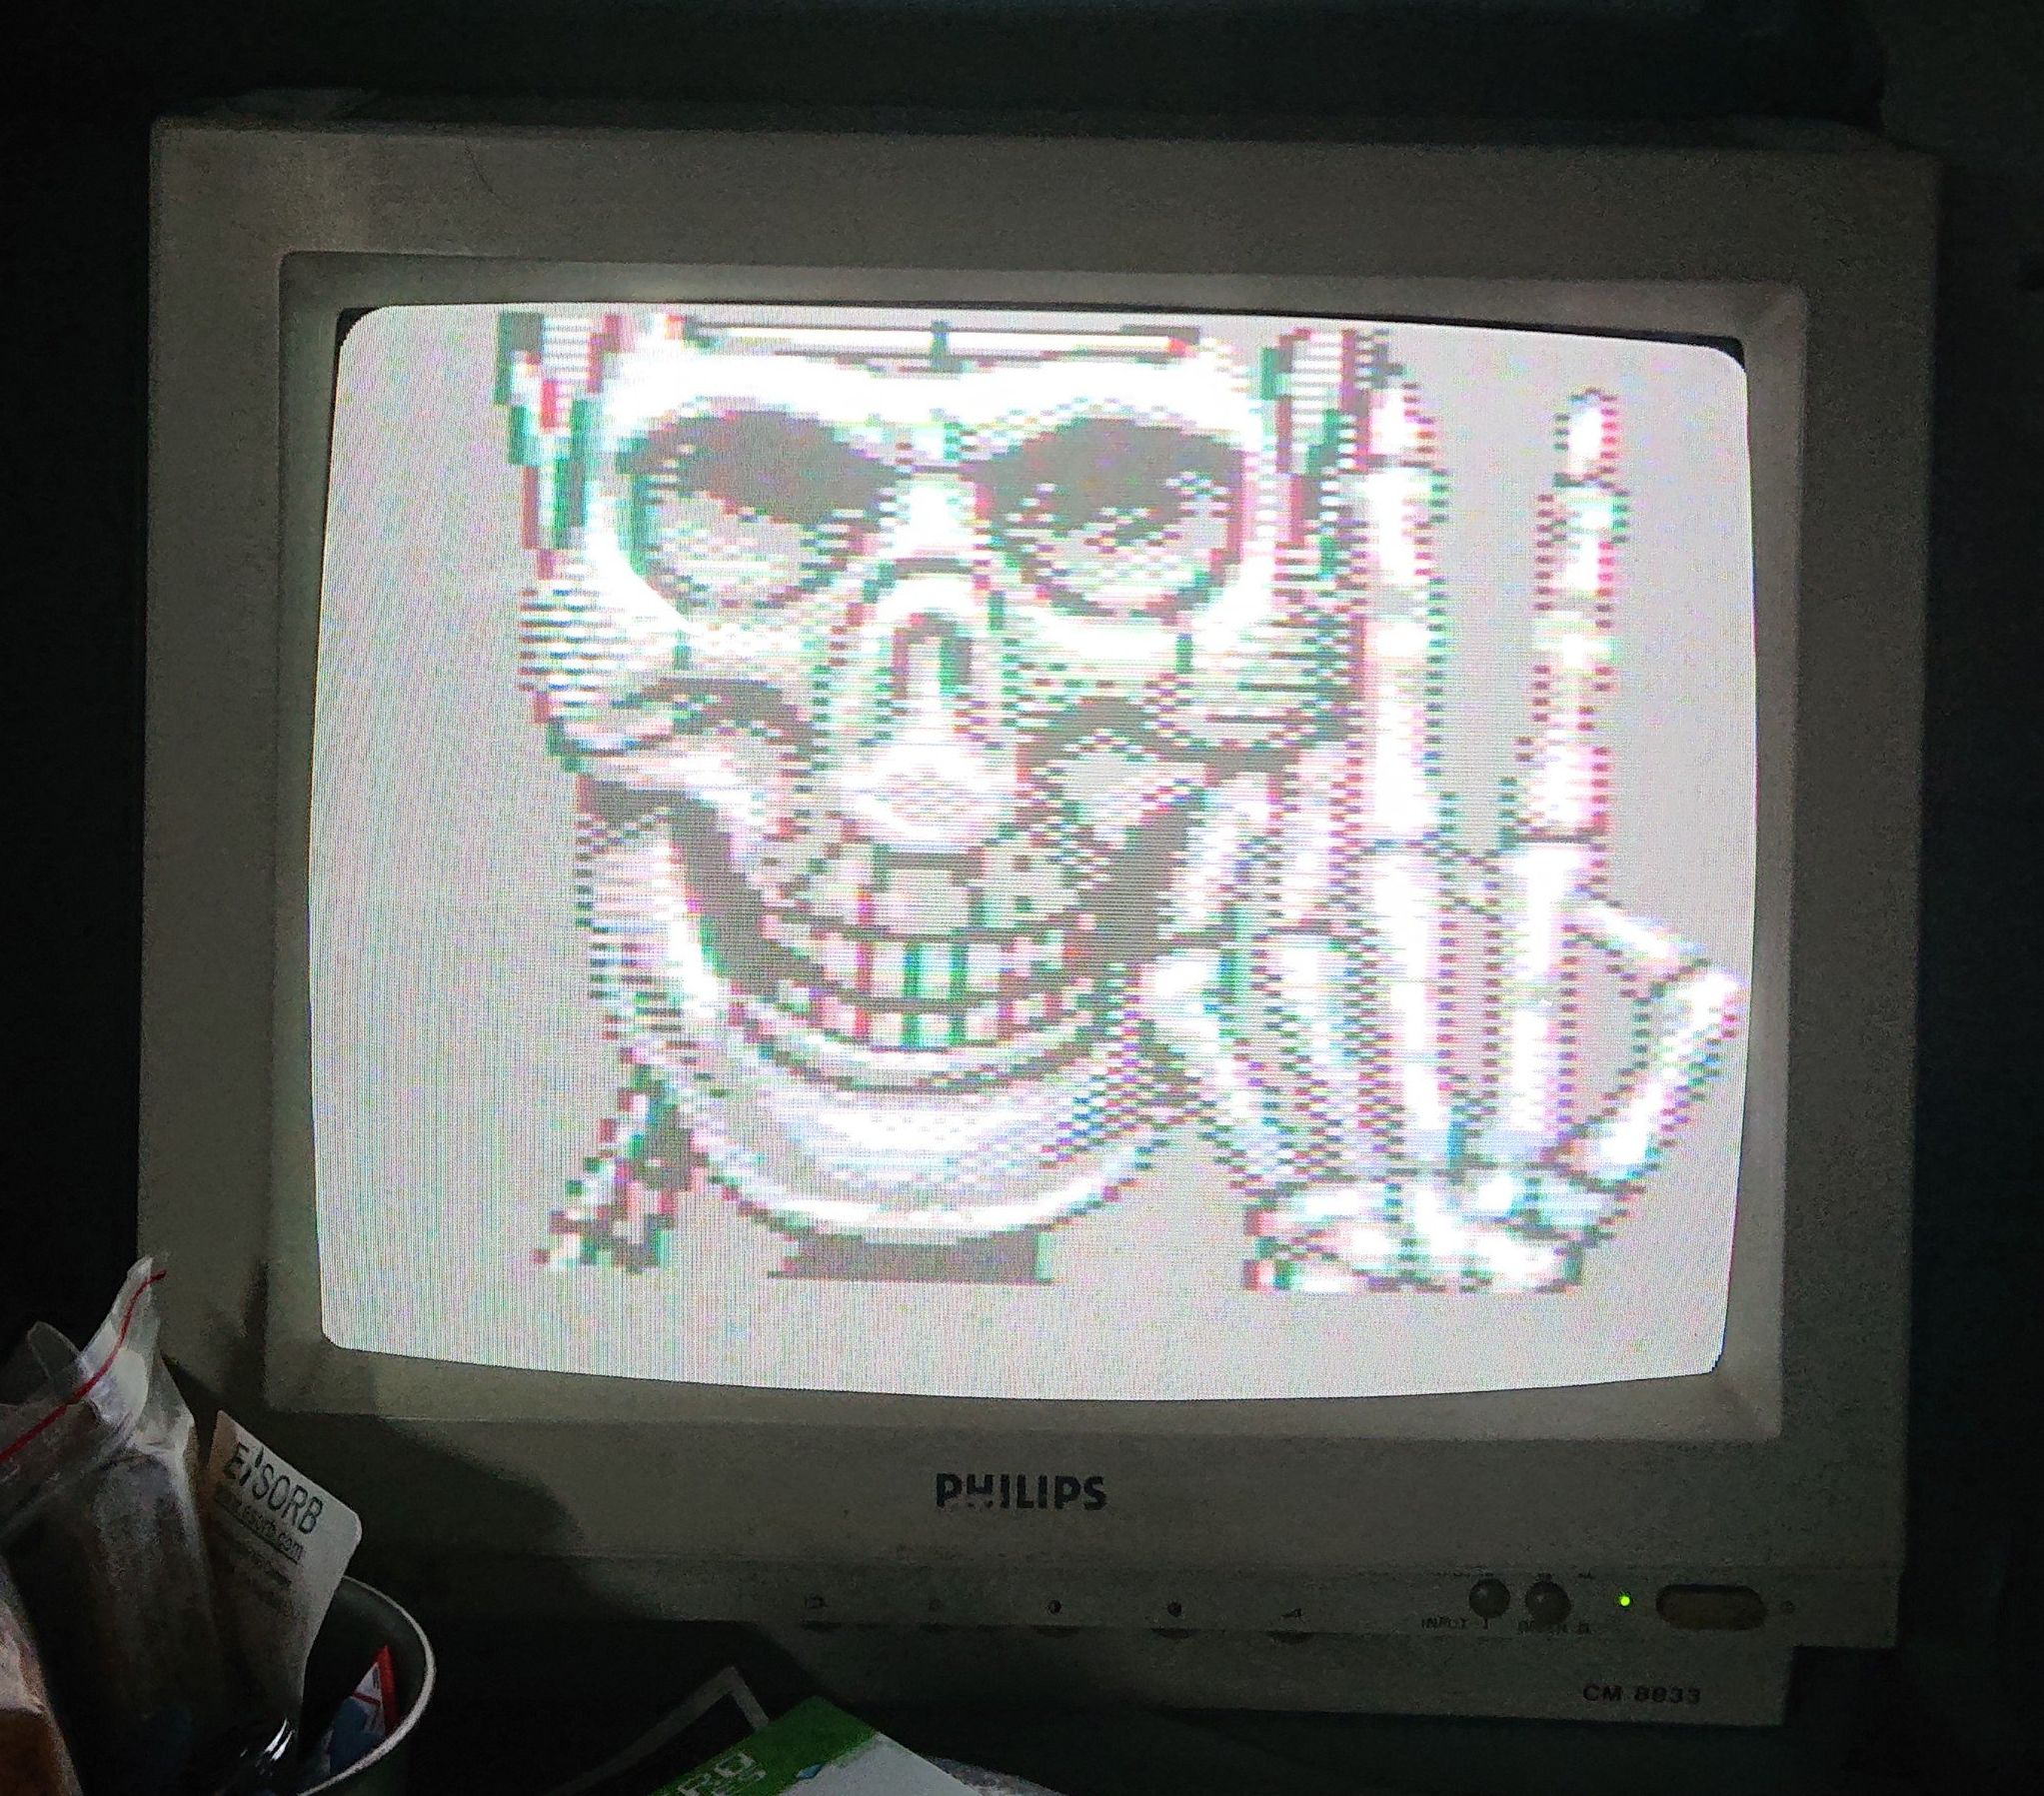
In general not bad, but I’m still not happy with video output quality, I still have moving horizontal interferences, which aren’t visible on photos.
19th March 2021 update:
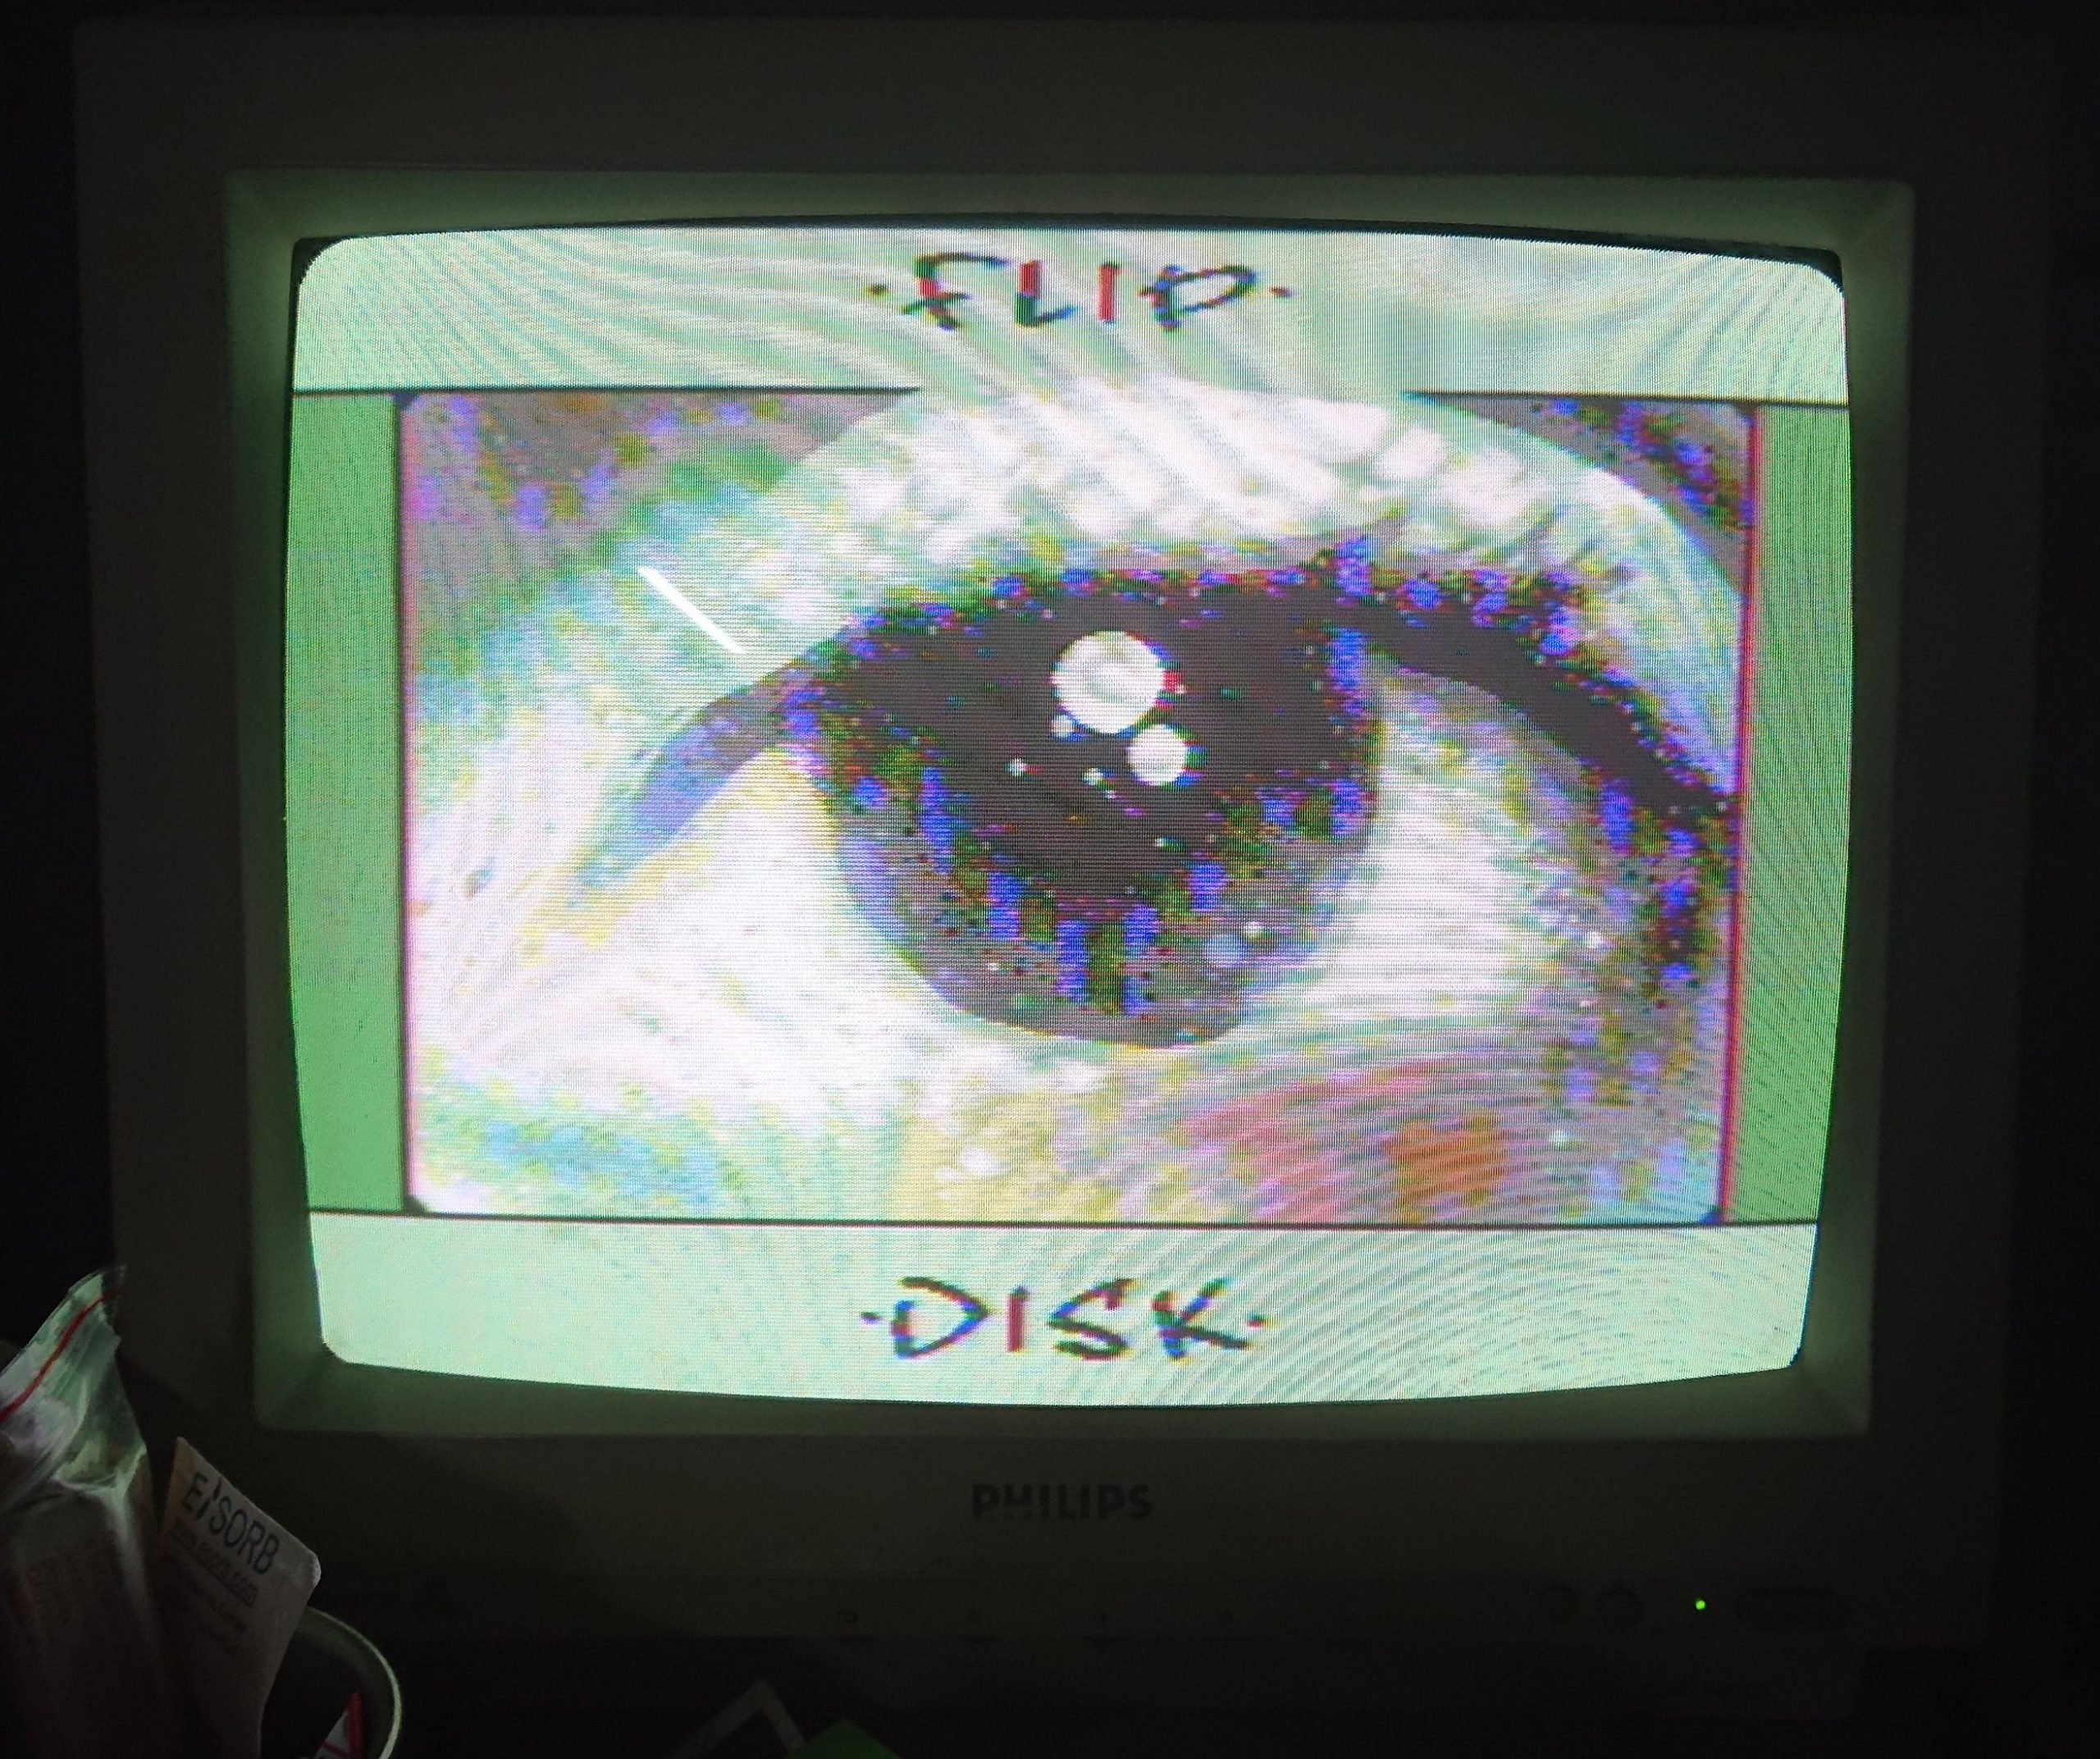
I’ve removed RF modulator and I’ve installed RF modulator bypass to clean up video output:
So, this ends this ends my c64c modifications and I’m happy with end result. Yay! :) Can close this lid forever…
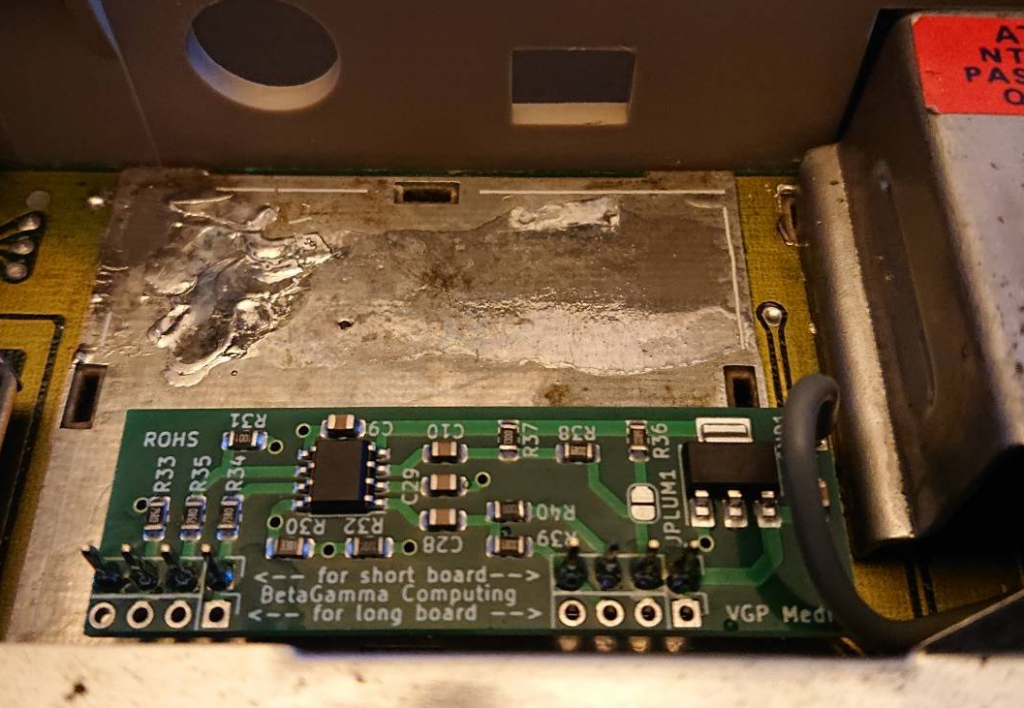
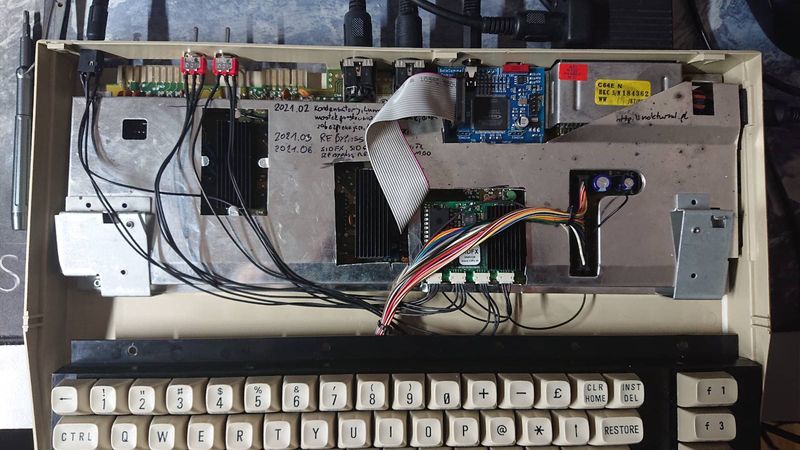
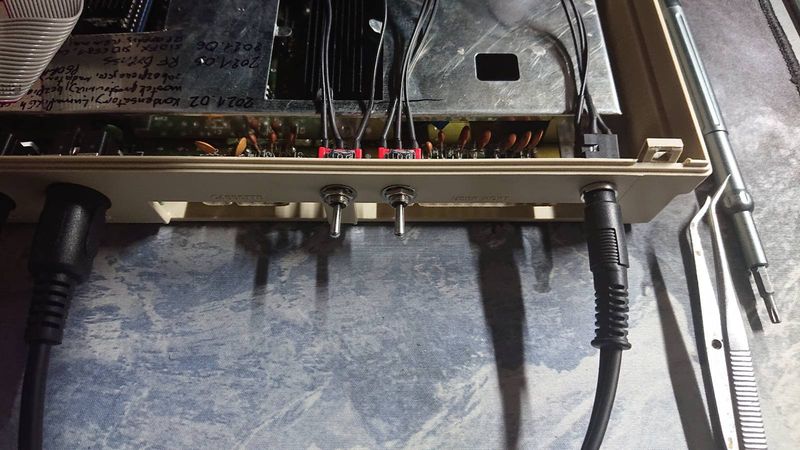
5th June 2021 update:
Apparently c64 master race isn’t over. I’ve replaced RF modulator bypass with Video Component mod, which produces clean video output on modern monitors and contains the same functionality which RF modulator bypass has. Additionally I wanted to insert older SID 6581, which sounds totally different than newer one. So, I’ve installed SIDFX and I am able to switch between two in runtime via switch. Unfortunately heatsink installed on VIC-II caused problems with LumaFix board, I couldn’t close a case (conflict with keyboard), so I had to remove LumaFix, second option would be removal of heatsink. Probably, I will reinstall it at some time. Installation of LumaFix was only possible with additional precision socket, without it plugging one board on Video component mod VIC-II adapter wasn’t possible. Additional shielding adjustments had to be done to fit both hardware expansions.
About this entry
You’re currently reading “Commodore 64C renewal and future proofing.,” an entry on [nokturnal].
- Published:
- 11 February 2021 7:02 PM
- Category:
- Commodore 64, Hardware modifications, News
Comments are closed
Comments are currently closed on this entry.