Atari 520 ST+ Video buffer board upgrade
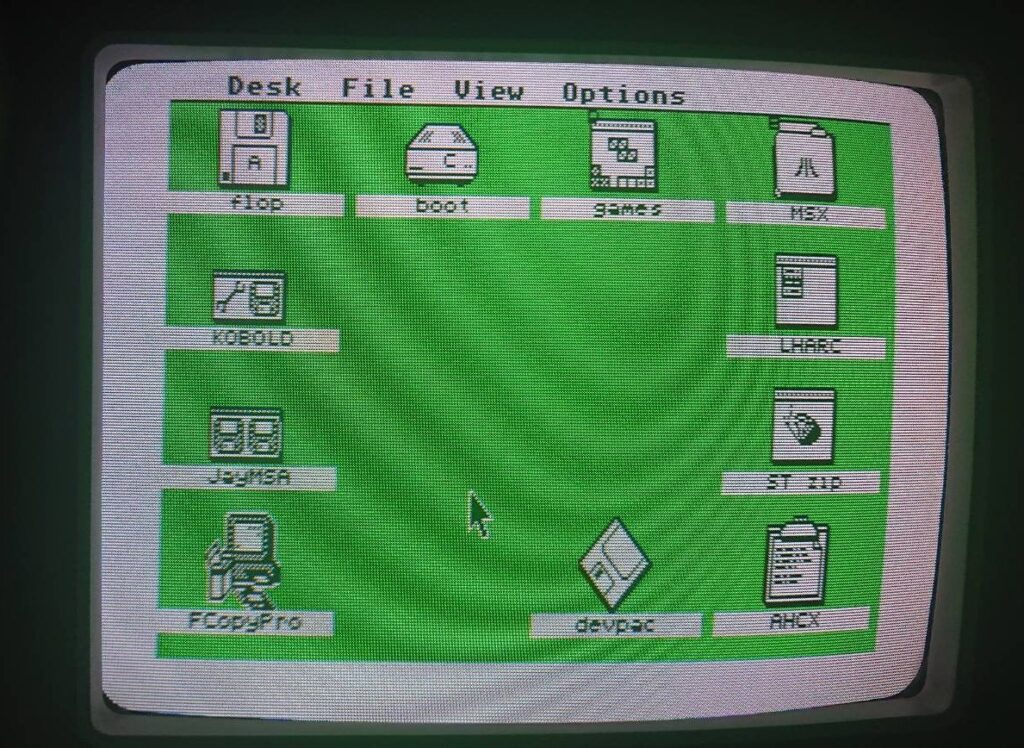
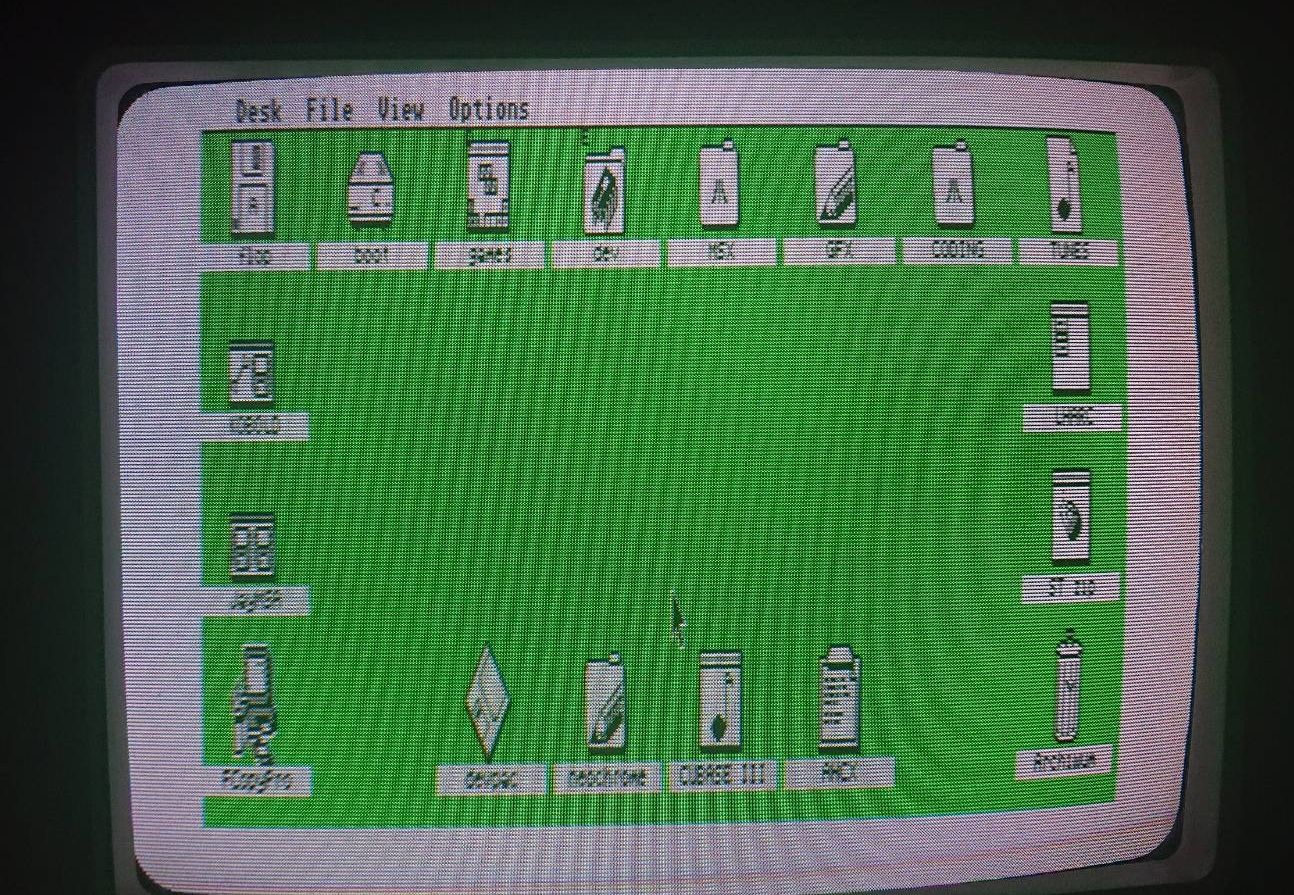
It looked that I’ve finished with my upgraded, short ST (520 ST+), but apparently not. One last thing, which I wanted to address was awful video output quality. It was visible especially on uniform backgrounds, like green GEM desktop in a form of shimmering, dark vertical lines.
Occurence of this depends on motherboard revision, used parts and build quality which varies. Also Atari ST video circuit isn’t very well designed and can get interferences from the mainboard. For instance I’ve got another Atari STM and Mega ST, which have got very clean and sharp video output without any interferences straight out of factory, but not this one.
I’ve waited for video shifter replacement, which is in the works (it enables use of hdmi output among other things), but in the mean time new experimental video DAC board prototype showed out with digital-analog converter used in later model Atari Falcon 030, so I thought that I will try it instead.
Video DAC board assembly
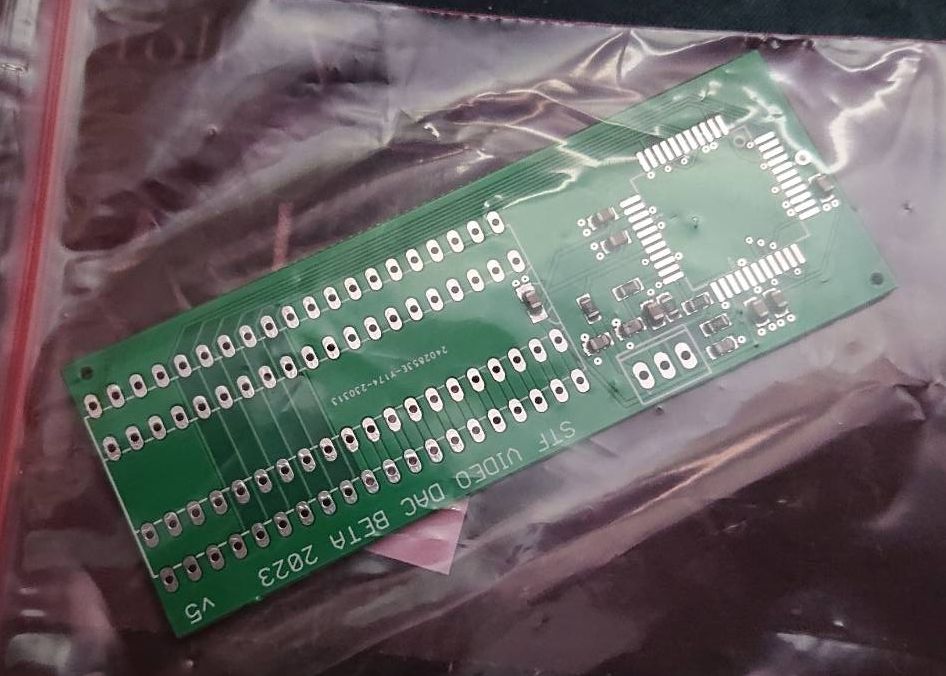
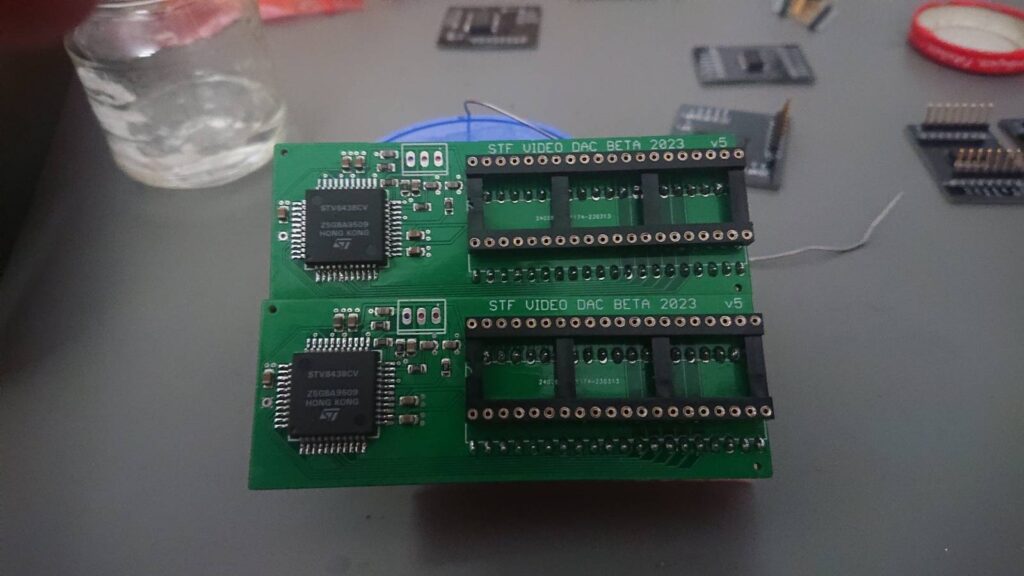
Whole kit I’ve received (,which was marked v5) required assembly. Hardest part was soldering SMT part – video DAC, which requires proper equipment and soldering flux.
Firstly I had to solder video DAC. I’ve reviewed the soldering joints with magnifier and multimeter.

Afterwards I’ve inserted goldpins into a 40 pin socket and inserted PCB to solder it to goldpins. Mainly to have proper pin alignment and don’t have any problems, when inserting board into precision socket or ST mother board later. After that precision 40 pin socket had to be soldered on pcb to hold the shifter. And that’s it.
Installation
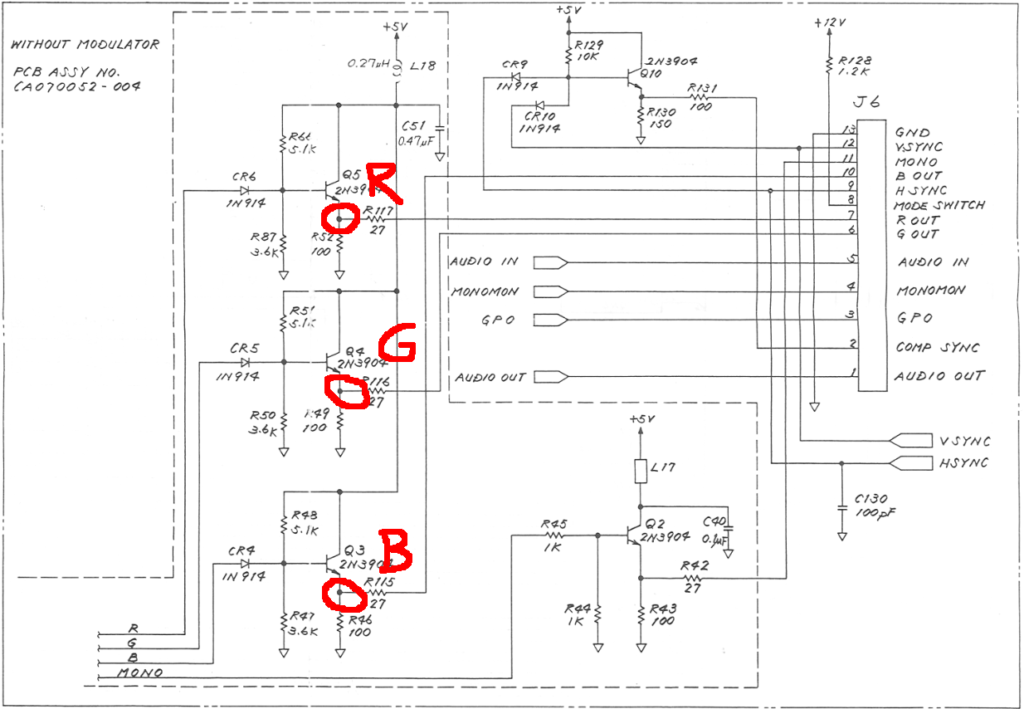
We need to reroute RGB signals from shifter, through new Video DAC and connect them to video output. Here are marked places we need to connect our buffer board:
Shifter has to desoldered from motherboard. In my case I’ve already done it before, so I had only to remove it.
Next I’ve had to locate three resistors for R, G, B signals (R117(R), R116(G), R115(B)) and remove them (marked on schematics above). I’ve managed to desolder the resistors without the need to remove whole motherboard.

Cleaned the solder points with some IPA, added some flux and new solder and after applying some heat I could pull them off. I’ve checked continuity from video output port for each video signal, to figure out where I need to solder wires, which need to be soldered to .
Afterwards with multimeter I’ve checked three diodes solder point under shifter with GLUE PLCC68, pin 36 to locate source of BLANK signal, which is needed by video DAC board. Three possible signal sources are marked in a screen above.
After that I’ve soldered wires for each signal to the ST motherboard and I could insert the DAC board and solder all four signals(R, G, B, BLANK). Alternatively pcb can be inserted into the motherboard directly and soldered, but this requires access to bottom side of the mainboard and dismantling whole unit.
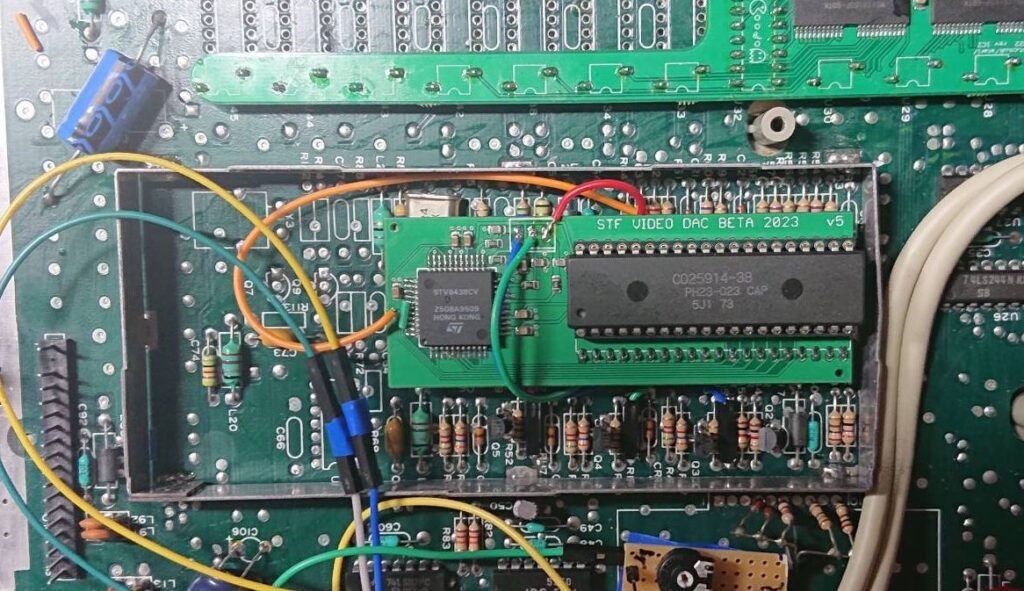
After assembly I tested if computer still lives and generates proper video output.
Probably shielding also will need to be modified, but it depends if shifter socket was used on motherboard, sometimes shielding isn’t there. In my case I cut it, when mounting Exxos 4MiB ram expansion, which I later replaced with soldered variant. So, this step depends on machine state.
End result
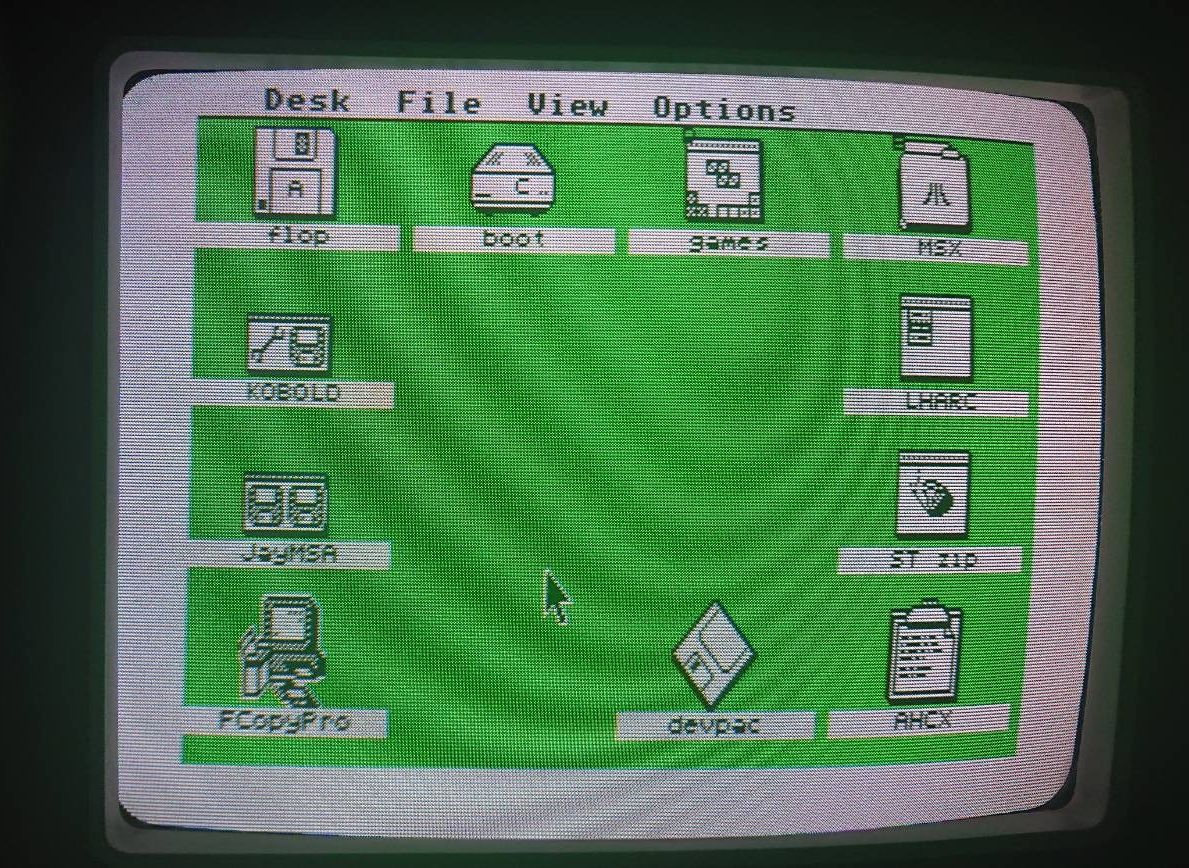
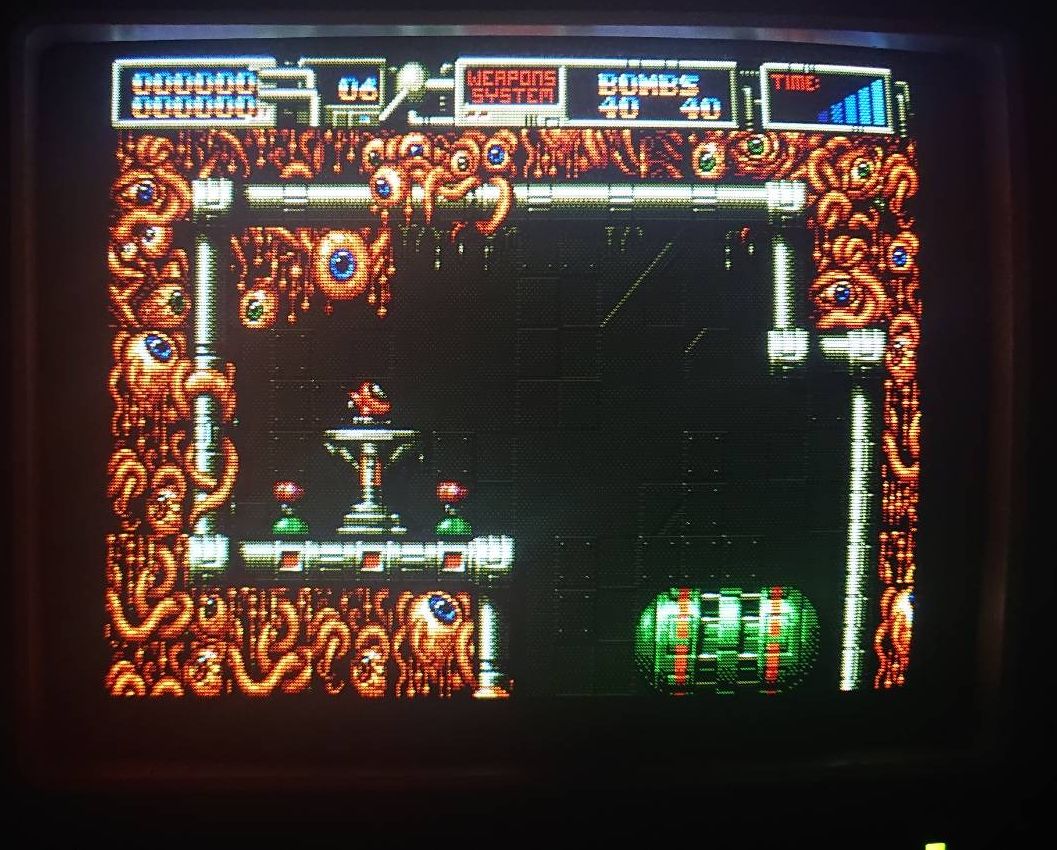
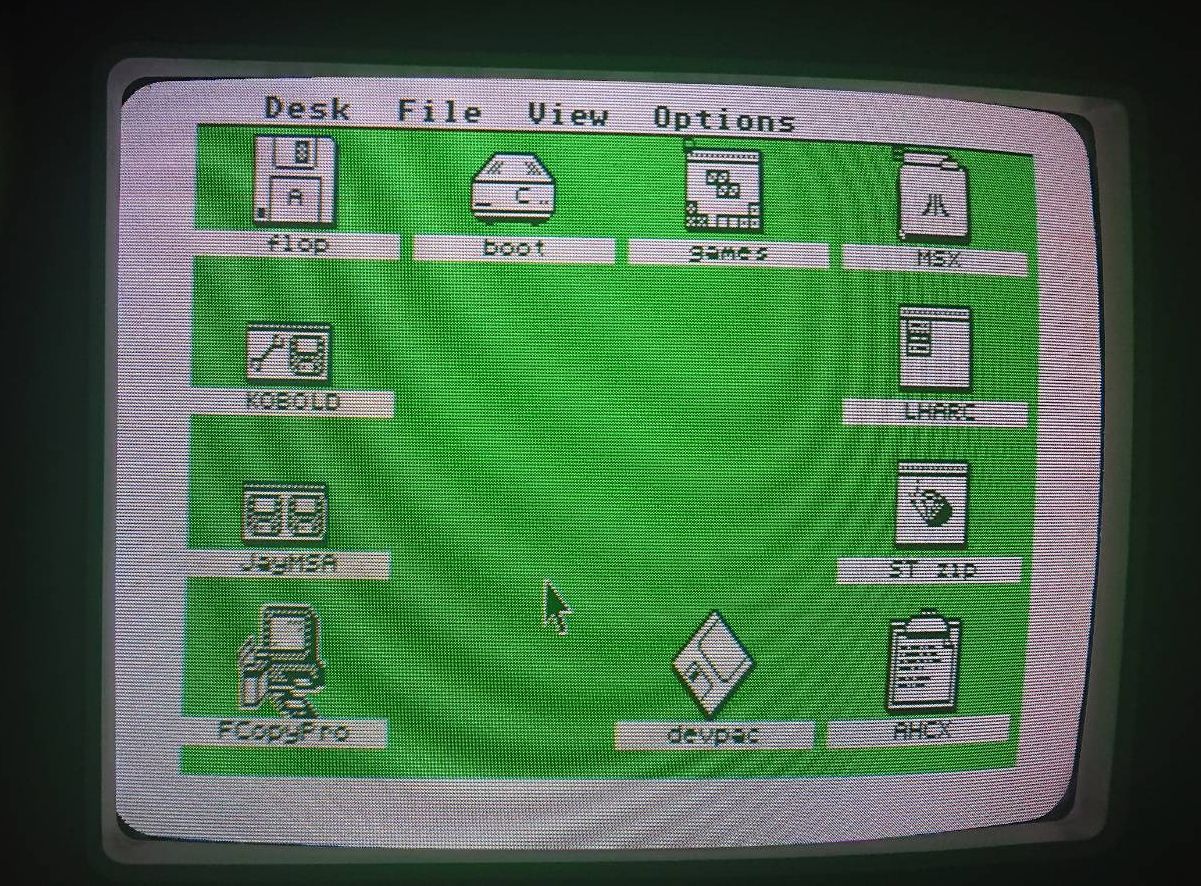
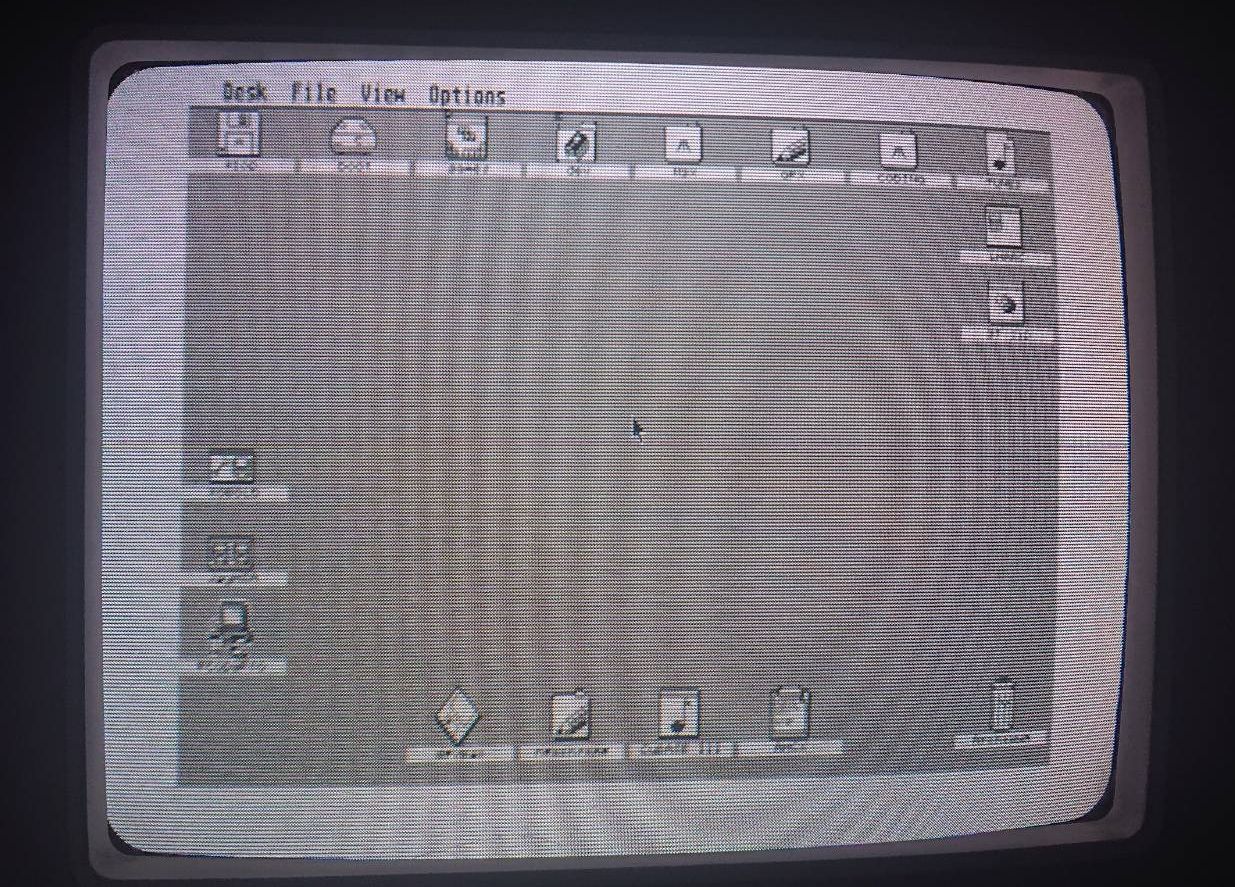
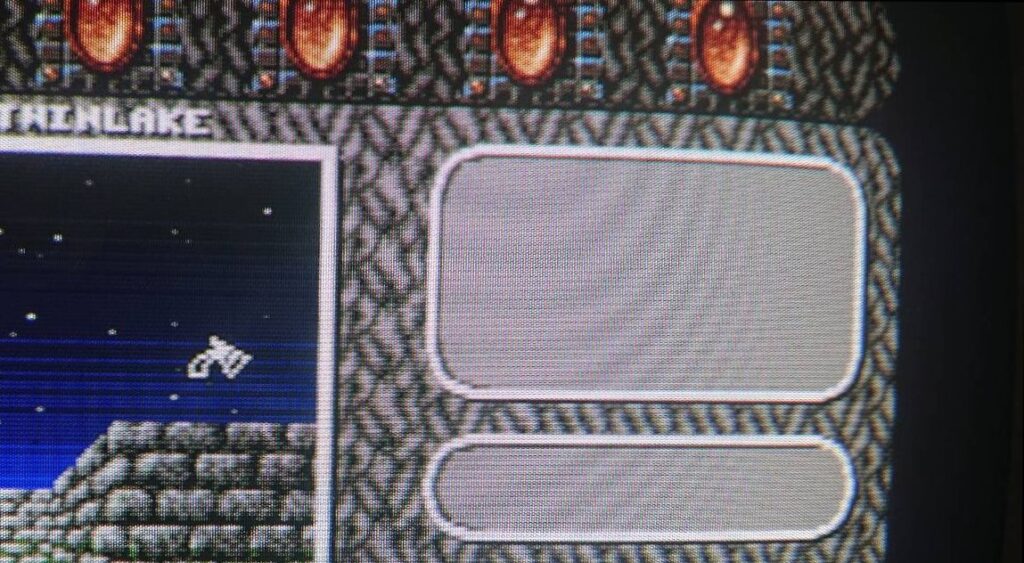
Ok, so was it worth it? It was hard to take CRT screenshots, but I’ve grabbed one screen, which illustrated the issue. The problem with vertical, shimmering, dark stripes is gone, areas with flat colors are uniform without stripes and video output is very clean. The video board is not easy to assemble, but I think that it resolved video issues completely. On a image below (after the modificastion) there are some bands from CRT screen catched by phone camera, it’s not visible, color is clean and uniform.
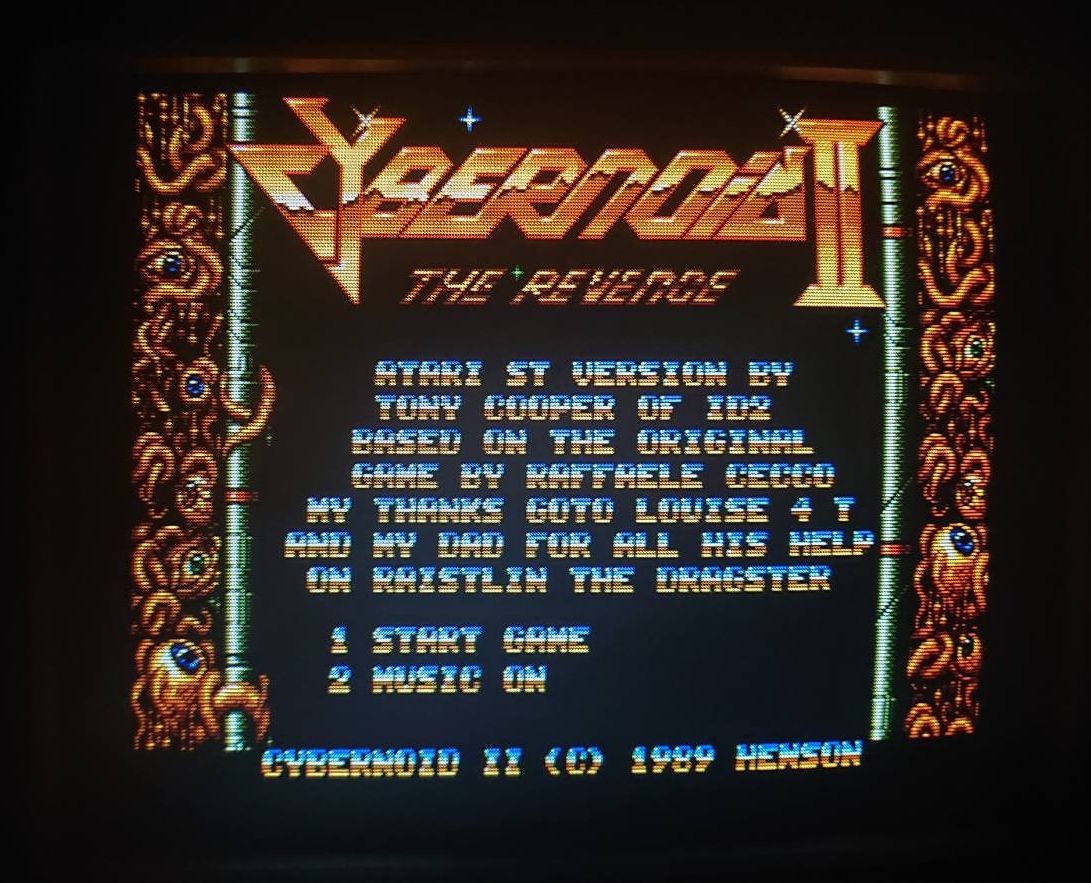
Some more photos taken from Atari SC1224 RGB monitor after DAC buffer board installation:


About this entry
You’re currently reading “Atari 520 ST+ Video buffer board upgrade,” an entry on [nokturnal].
- Published:
- 24 May 2023 9:19 PM
- Category:
- Atari 16/32 bit, Hardware, ST/STe, Hardware modifications, News


Comments are closed
Comments are currently closed on this entry.