

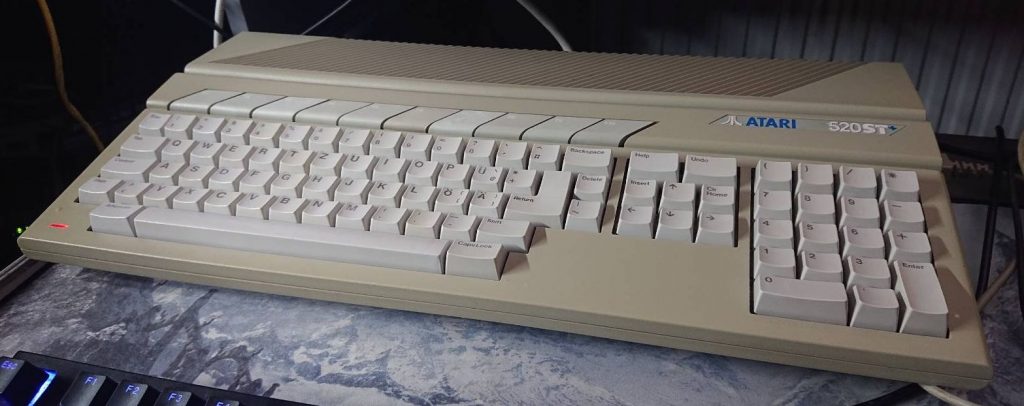
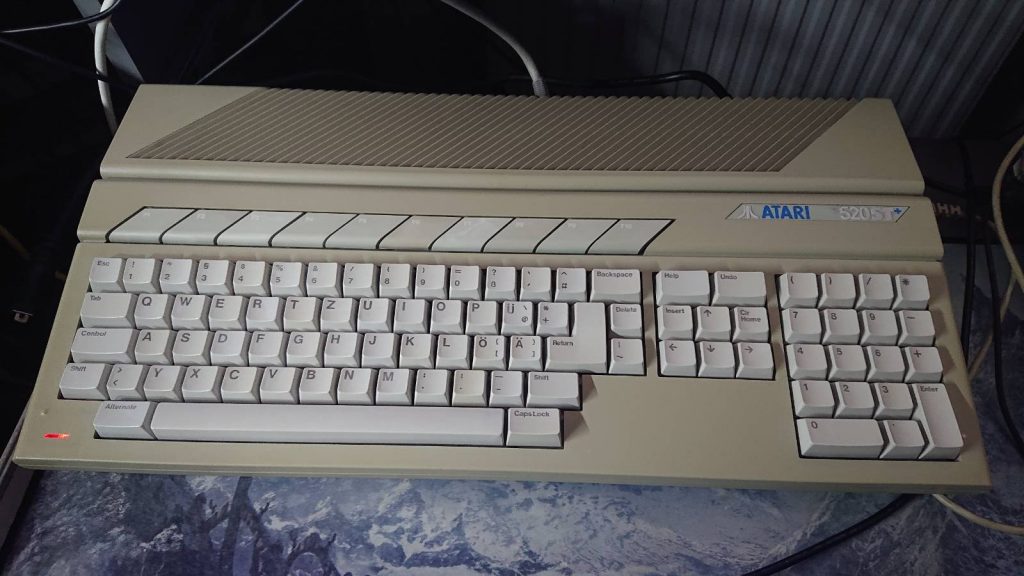
Atari 520ST+ repair and upgrade
I really like 520ST, it is most simple and compact computer from Atari ST 16-bit line. Here in Poland they weren’t as popular as those equipped with internal floppy drives. I’ve got this 520ST+ nearly decade ago on auction without power supply and in unknown state. Fortunately it worked, got TOS 1.02 / German I believe, strange x86 PC emulator plugged on cpu socket and 1MiB of RAM (crazy amount these days.. :-)). I’ve upgraded it shortly with TOS 1.04UK (thanks to Paskud). I didn’t have an external drive for it, but when I got it, turned out that it doesn’t read any floppies, spinning drive only.
Several months ago, I’ve started working on it. Firstly I thought about fitting another MonSTer card (flashable TOS, 8MiB alternate ram and IDE), which I have in two of my other machines (Mega ST and Mega STe). Unfortunately those cards aren’t available to buy since a long time. But great alternative caught my eye – combination of Lighting ST (IDE interface/ USB 1.1 support / TOS 2.06 decoder), Cloudy (tos switcher with two flashable TOSes) and Storm ST with RTC (8MiB of general purpose, alternate ram) gave similar feature set plus some more.
My general plan was to clean up the case, clean / deyellow the keyboard (didn’t tried it before), upgrade ram to 4MiB, repair external drive issue (,so I could proceed with rest of upgrades), recap / clean motherboard, resolder most used ports (power input, mouse/joystick connectors/floppy drive), adjust shielding, so ram upgrade and Lighting ST would fit. I gave up on cutting the case to fit external usb connectors (maybe other time).
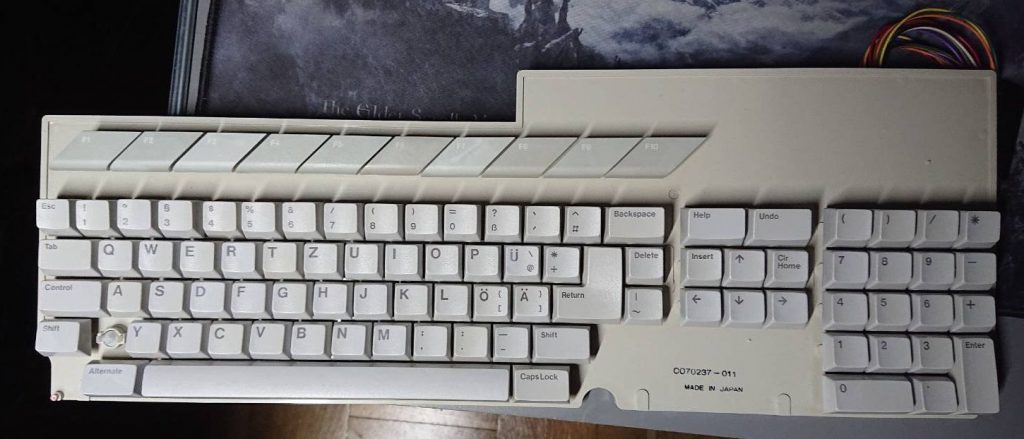
Keyboard
Keyboard was fully dismantled, keys and rubber domes got bath in soapy water. It was yellowed and this time I’ve used hydrogen peroxide in cream 11% without UV lamp, only with radiator. Although normal keyboard keys turned out fine, grey ones don’t have uniform color and are a lot brighter, deyellowing of grey parts can destroy overall look, so I didn’t try this on the main case.
I replaced one capacitor on board. Screws were very rusty and I had an accident with them. One rubber pad was misplaced during reassembly, when I realised that shortly after everything was reassembled. I’ve tried to reopen keyboard once again, but I couldn’t unscrew them, they were so worn out. Tricks with rubberband didn’t work out, cutting engravement on screw head with Dremel didn’t work on such small screw too (I destroyed one in process). I had to remove all old screws that didn’t resist to screwdriver and replaced with new ones. In several places I had to drill through them to lift board and get an access to misplaced pads. Hopefully it was on one side, not the middle of the board. Note to future self, replace all the rusty screws after dismantling any device.
External floppy issue
ST refused to work with floppy, Repair was quite easy, I’ve resoldered floppy drive connector and replaced WD1772 controller and external drive started to work. I’ve put precision socket underneath WD1772, so replacement will be easier next time, I’ve done the same thing with ym2149 just in case.
Recap
All the electrolitic capacitors were replaced with new ones. Of course several ones were bipolar, so I had to find and get them. Hopefully short ST doesn’t have many capacitors.
4 MiB RAM upgrade
I’ve used Exxos 4MiB kit. In general it works, but I’m not 100% happy with it. Part sitting on top of mmu socket is really fragile, it can be easily moved. I removed all the RAM chips, they aren’t needed.
Still, after upgrade I had some issues with video output quality (very light vertical bars visible on uniform background). This is still an issue to resolve, because video output is nowhere that clean like in my other machines – Mega ST or STe model (on CRT of course). Power supply quality shouldn’t be source of problem here, because I’ve checked machine plugged with ST520PSU from Centurion-Tech and old / original one fully recapped and issue still remains. But it’s not big deal, when you’re looking from larger distance. In short, it could be much better.
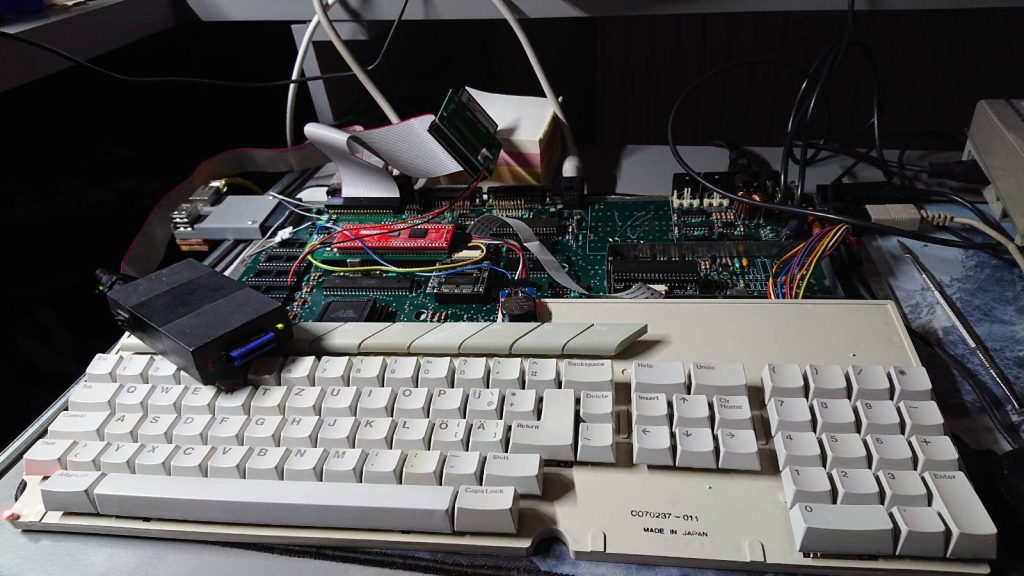
Lighting ST/Cloudy/Storm ST fitting
I had already precision socket soldered onto cpu, so mounting wasn’t a big deal. Actual problem was colllision with Exxos ram 4MiB upgrade, part sitting on mmu collided with lighting ST pcb. For what I seen MonSTer board got similar issue. The only solution was cutting off edge of Lighting ST board with modelling saw. I’ve got also some problems with launching system with all the boards plugged in (couldn’t launch TOS or it badly crashed with garbage on screen), sometimes external acsi refused to find/ recognize inserted Ultra Satan SD cards, which worked fine with severel other systems. I’ve fixed issue by plugging Lighting ST onto supplied precision socket. Interrupt (INT) cable was too long, so I shortened it to a minimum.
I’ve connected 4GiB IDE CompactFlash adapter with 4GiB card, which should be enough. Old TOS ROMs had to be removed, I had also to solder/connect to pin 20 sockets several BAT42 diodes with 4,7kOhm resistor and connect one cable to Lighting ST, according to instructions on Wiki pages.
Switching TOS versions is really nice, it can be done without any external switch, option is stored in RTC module. Internal IDE just works as expected. The only thing that annoys me that first OS bank is read only and is treated as fallback for second one. I realized this after trying to upgrade EmuTOS to latest version. I also had issues with launching several programs like STj or Maxymizer, they run into black screen (even with clean system), some D-BUG patched games label system as “Unknown”. Otherwise I didn’t found any issues so far.
Shielding adjustments
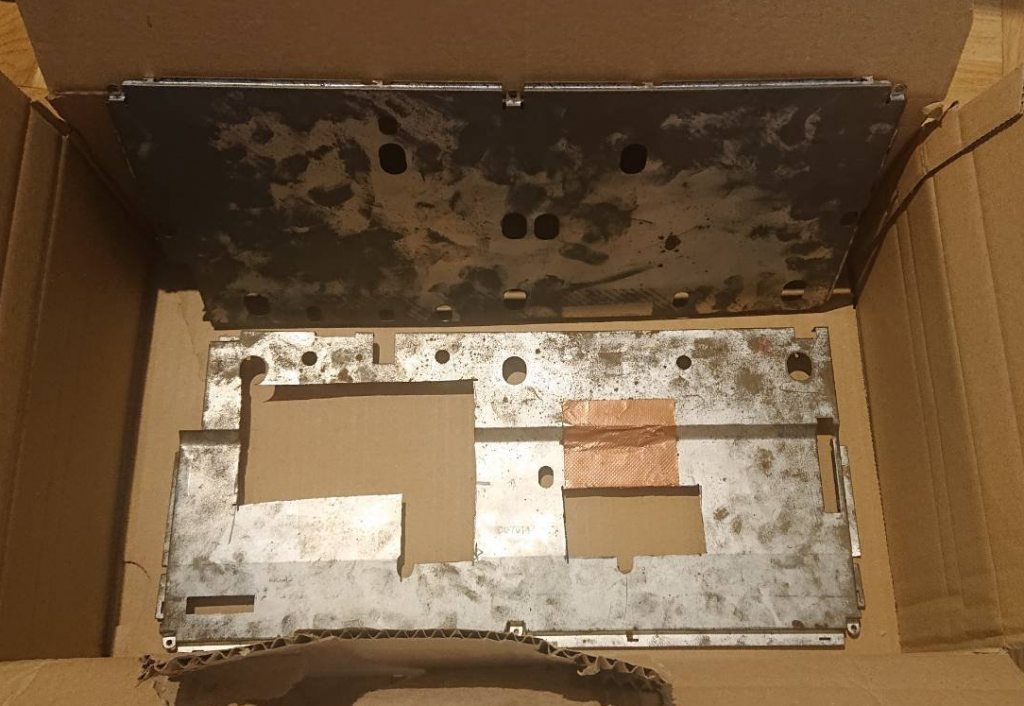
Due to three sandwitches in form of ram upgrade and Lighting ST shielding had to be adjusted. I cut it with Dremel (don’t forget to wear protective eyeglasses to avoid injury!), filed rough edges. Overall it was rusty in places, so I cleaned bottom and upper case and galvanised with zinc spray – wearing a protection mask is mandatory, this stuff isn’t good for lungs.

After galvanizing and first fitting I realised that more of the shielding had to be removed, because of collision with IDE port.
Final fitting check
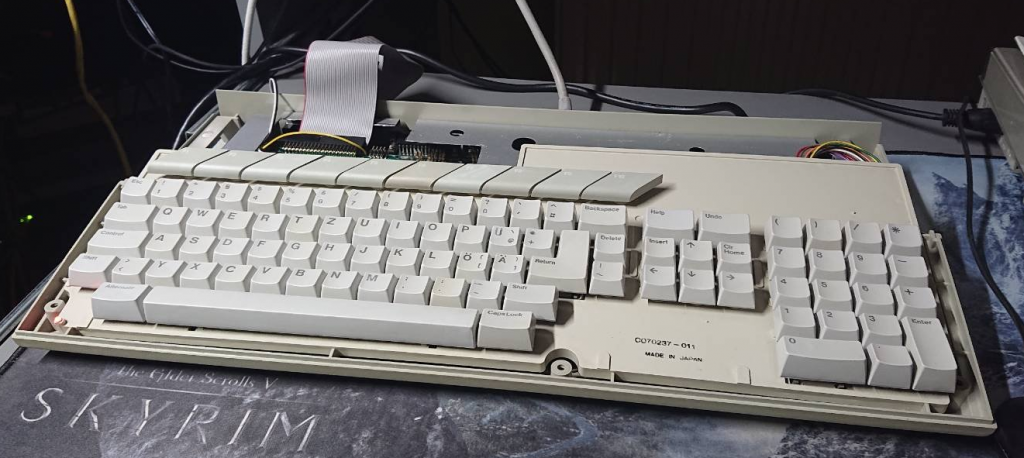
End result
So, here it is very compact machine with alot of ram (4MiB ST + 8MiB Alt), internal 4GiB compact flash, switchable TOS. It still has some minor cosmetic issues (like little torn badge, case could be more gray and there are marks on both sides of the case – left by mismatching rear / front screws by former user). Otherwise it is fully functional.
O wpisie
Aktualnie czytasz “Atari 520ST+ repair and upgrade,” wpis w [nokturnal].
- Opublikowano:
- 20 April 2021 12:55 PM
- Kategoria:
- Atari 16/32 bit, Hardware, ST/STe, Modyfikacje sprzętu, Wieści
Komentarze są zamknięte
Aktualnie komentarze nie są aktywne dla tego wpisu.